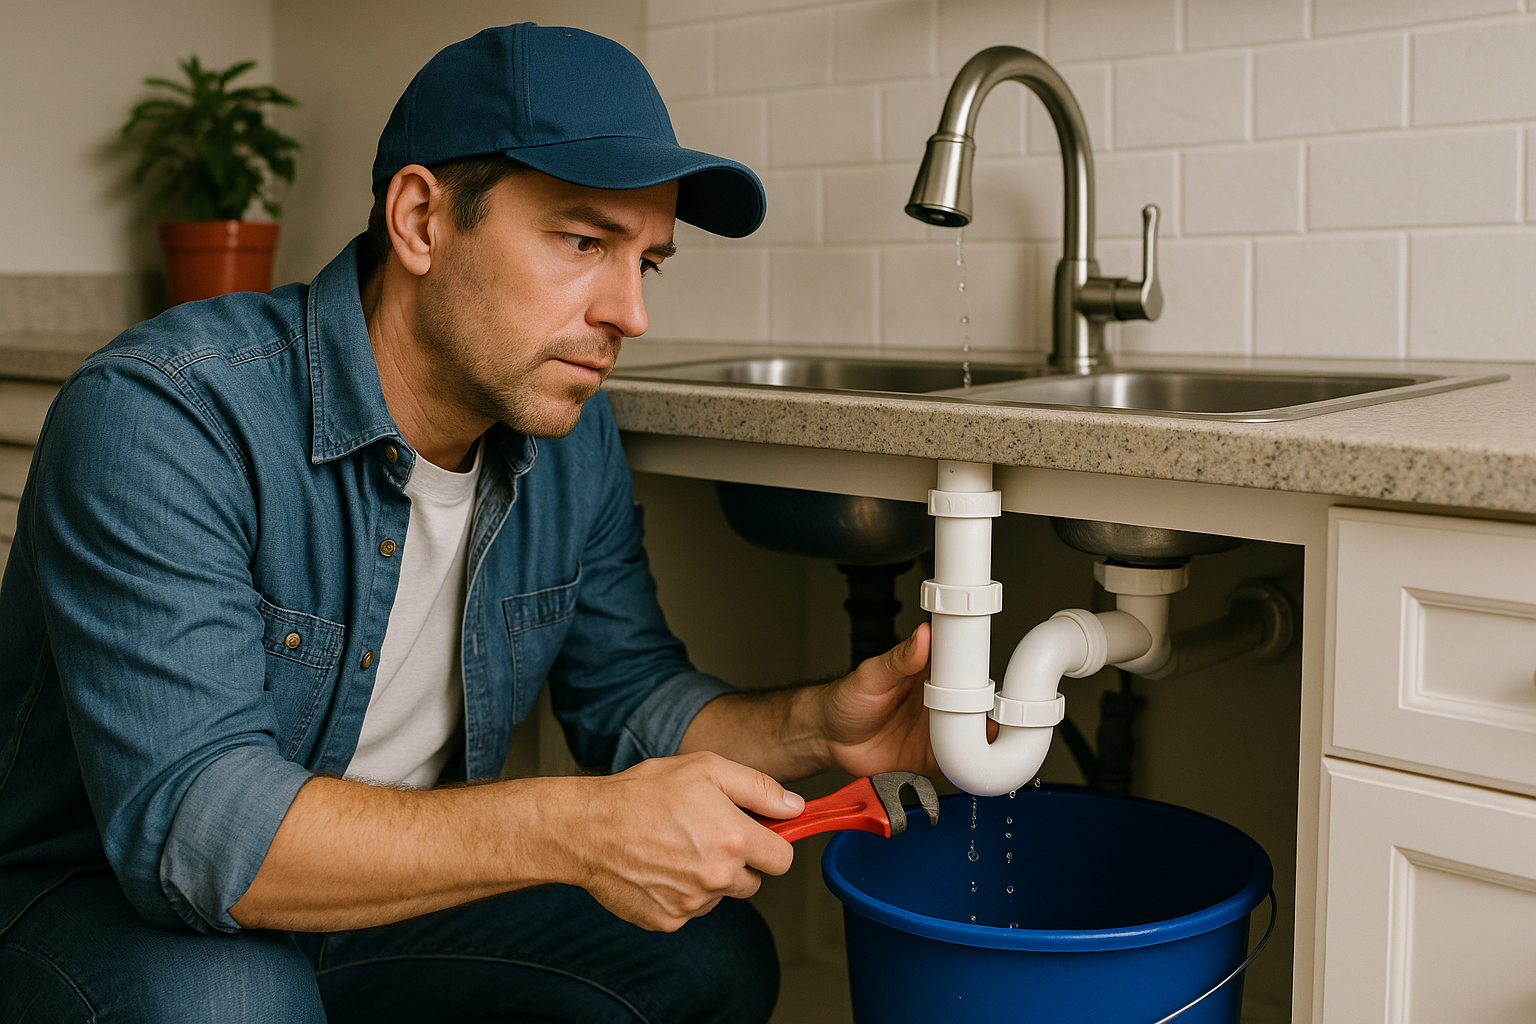
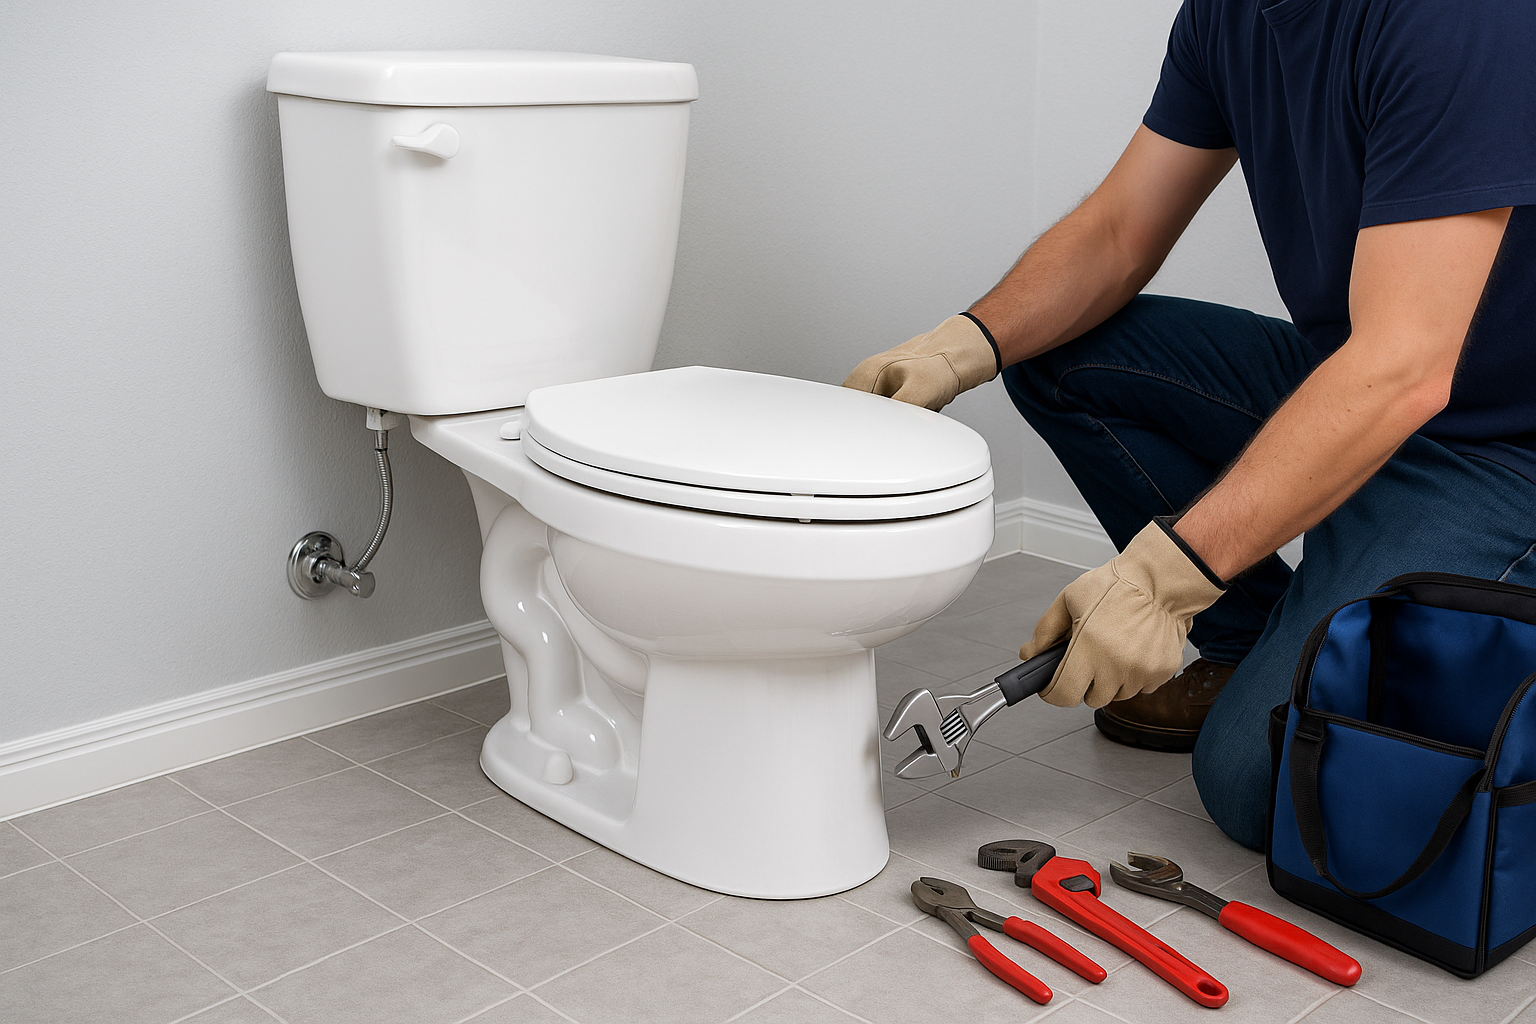
Installing a toilet may seem like a simple home project, but a successful installation depends on careful preparation, the right tools, and attention to detail. Whether you are replacing an old toilet or putting in a new one during a bathroom remodel, proper installation helps prevent leaks, odors, wobbling, and costly water damage. This guide walks you through the main steps of toilet installation, what to expect during the process, and when it may be best to call a professional.
What Is Toilet Installation?
Toilet installation is the process of setting a toilet bowl and tank in place, connecting it to the water supply, and sealing it to the floor and drain. It involves more than just placing the fixture in position. A proper installation ensures the toilet sits level, the wax ring or seal is secure, and all plumbing connections function correctly.
Why Proper Installation Matters
A toilet that is installed incorrectly can cause several problems. Even a small leak at the base can damage flooring over time. A loose toilet may shift with use and break the seal, while an improperly connected supply line can lead to hidden water damage. Good installation also improves comfort, stability, and the overall appearance of the bathroom.
Tools and Materials You’ll Need
Before starting, gather everything required so the project goes smoothly. Common tools and materials include:
- New toilet
- Wax ring or wax-free seal
- Closet bolts and caps
- Adjustable wrench
- Sponge and bucket
- Putty knife or scraper
- Level
- Rag or towels
- Water supply line
- Caulk, if desired
It is also a good idea to inspect the flange, which connects the toilet to the drainpipe. If the flange is damaged or below floor level, repairs may be needed before the new toilet is installed.
Step-by-Step Toilet Installation Process
1. Remove the Old Toilet
Start by turning off the water supply valve and flushing the toilet to empty the tank and bowl. Use a sponge to remove any remaining water. Disconnect the supply line, then remove the bolts securing the toilet to the floor. Carefully lift the old toilet straight up and set it aside. Because toilets are heavy and awkward, this part is often easier with two people.
2. Inspect and Prepare the Area
Once the old toilet is removed, clean the floor around the flange. Scrape away old wax, debris, and any residue left behind. Check the flange for cracks, rust, or loose screws. If the flange is damaged, it should be repaired or replaced before continuing. This step is important because the seal between the toilet and drain must be solid.
3. Position the Closet Bolts
Insert the closet bolts into the flange slots and align them so they will fit through the base of the new toilet. Make sure they are secure and positioned evenly. This helps keep the toilet stable and properly centered when it is lowered into place.
4. Set the Wax Ring or Seal
Place the wax ring on the bottom of the toilet or on the flange, depending on the product instructions. Some homeowners prefer wax-free seals, which can be easier to work with and reposition. The seal is what prevents water and sewer gases from escaping, so it must be installed correctly.
5. Lower the Toilet Into Place
Carefully lift the toilet and align it with the closet bolts. Lower it slowly and evenly so the seal compresses properly. Once it is seated, press down gently to create a tight connection. Avoid rocking or shifting the toilet too much, as this can break the seal.
6. Secure the Toilet and Check for Level
Install the washers and nuts on the closet bolts, tightening them alternately so the toilet stays even. Do not overtighten, since this can crack the porcelain base. Use a level to confirm the toilet is stable. If needed, use shims to stop any wobbling.
7. Connect the Water Supply
Attach the water supply line to the fill valve and the shutoff valve. Turn the water back on slowly and allow the tank to fill. Check all connections for leaks before flushing the toilet several times.
8. Finish and Seal the Base
Some installers apply a thin bead of caulk around part of the base for a cleaner look and to help prevent movement. Others leave a small gap at the back so leaks can be noticed more easily. Either approach can work, depending on local practice and manufacturer guidance. Once the toilet is stable and leak-free, replace the tank lid and clean the area.
Common Toilet Installation Problems
Even with careful work, a few issues can come up during toilet installation. One common problem is a leaking wax seal, often caused by poor alignment or an uneven flange. Another is a toilet that rocks, which may mean the floor is uneven or the toilet needs shims. Loose supply line fittings can also create slow leaks that may not be obvious right away.
It is also possible to damage the toilet during installation by overtightening the bolts. Porcelain can crack under pressure, which may require replacing the entire unit. Taking your time and following each step carefully helps reduce these risks.
DIY or Professional Installation?
Many handy homeowners can handle a standard toilet replacement, especially if the flange and plumbing are in good condition. However, professional installation may be the better choice if the bathroom has older pipes, floor damage, a broken flange, or repeated leak problems. A plumber can also help if you are installing a specialty toilet, such as a wall-mounted model or a high-efficiency unit with specific requirements.
When to Call a Plumber
Call a professional if you notice water damage around the base, sewage odors, a cracked flange, or major floor rot. These issues can make installation more complicated and may indicate a larger plumbing problem that needs expert attention.
Conclusion
Toilet installation is a manageable project when you have the right tools, preparation, and a clear process to follow. By removing the old toilet carefully, checking the flange, sealing the new fixture properly, and testing for leaks, you can create a secure and reliable result. If any part of the job feels beyond your comfort level, a licensed plumber can help ensure the installation is done right the first time.