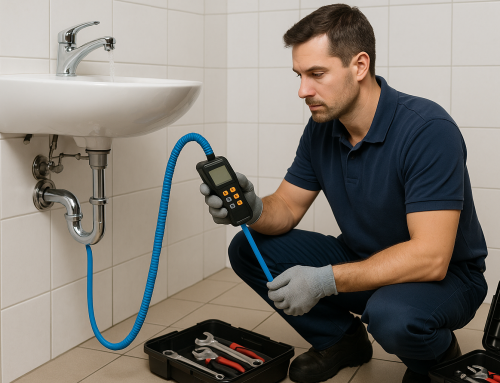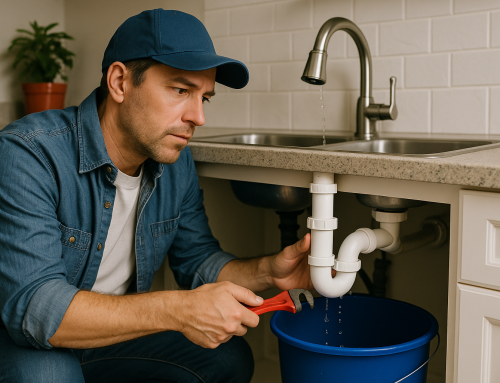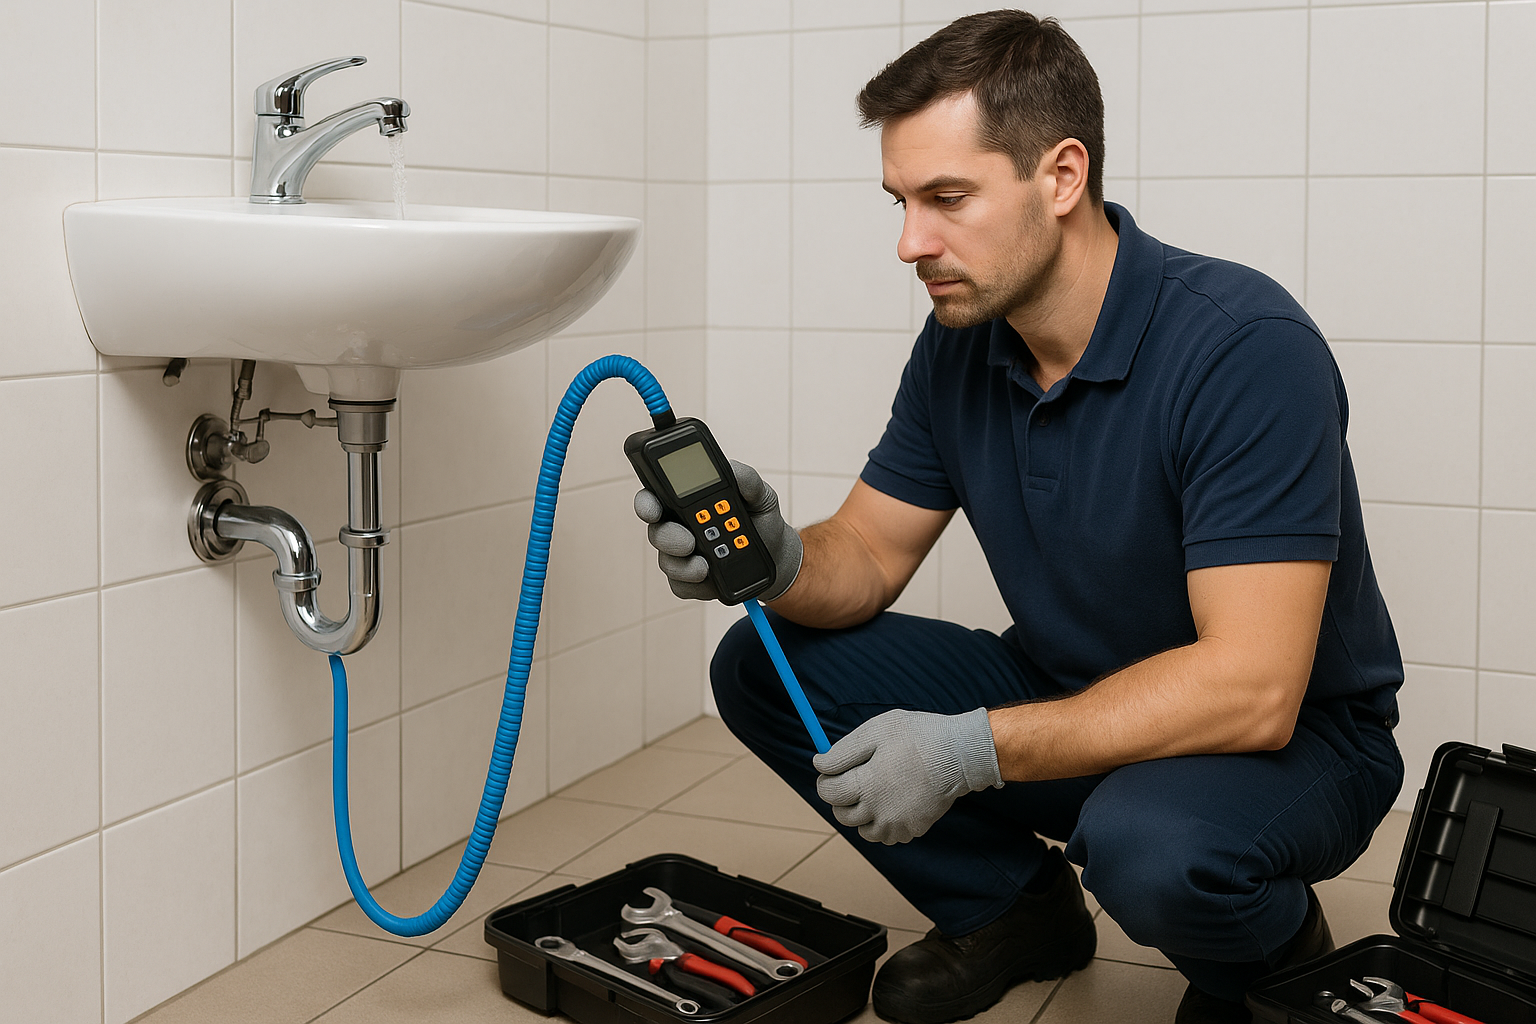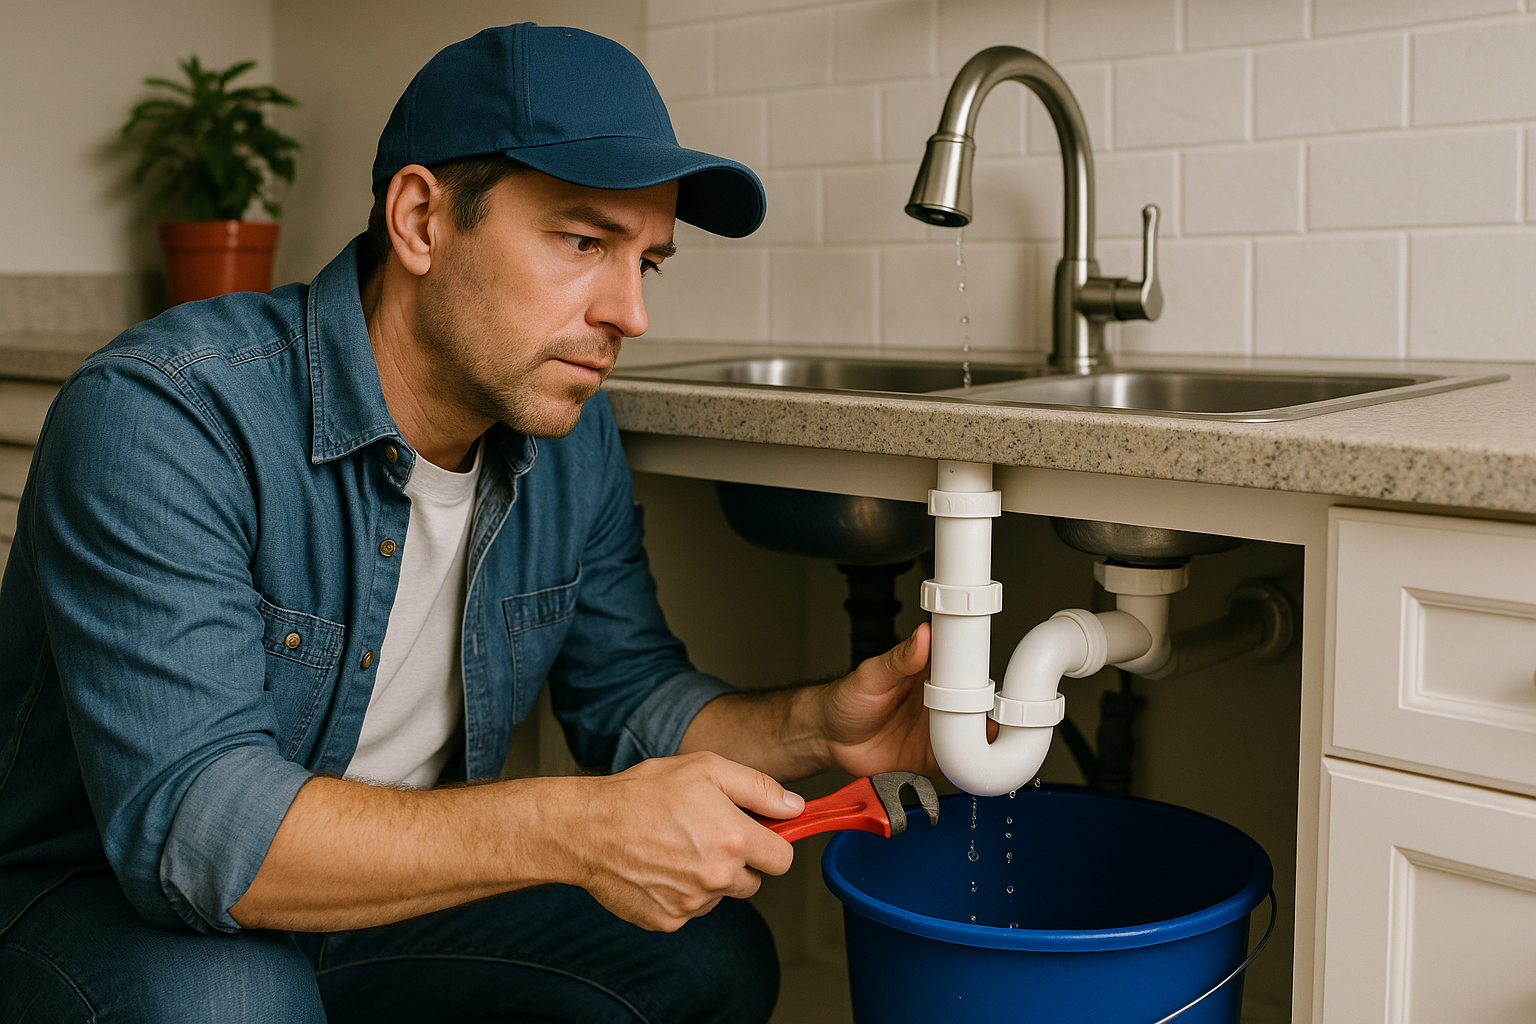
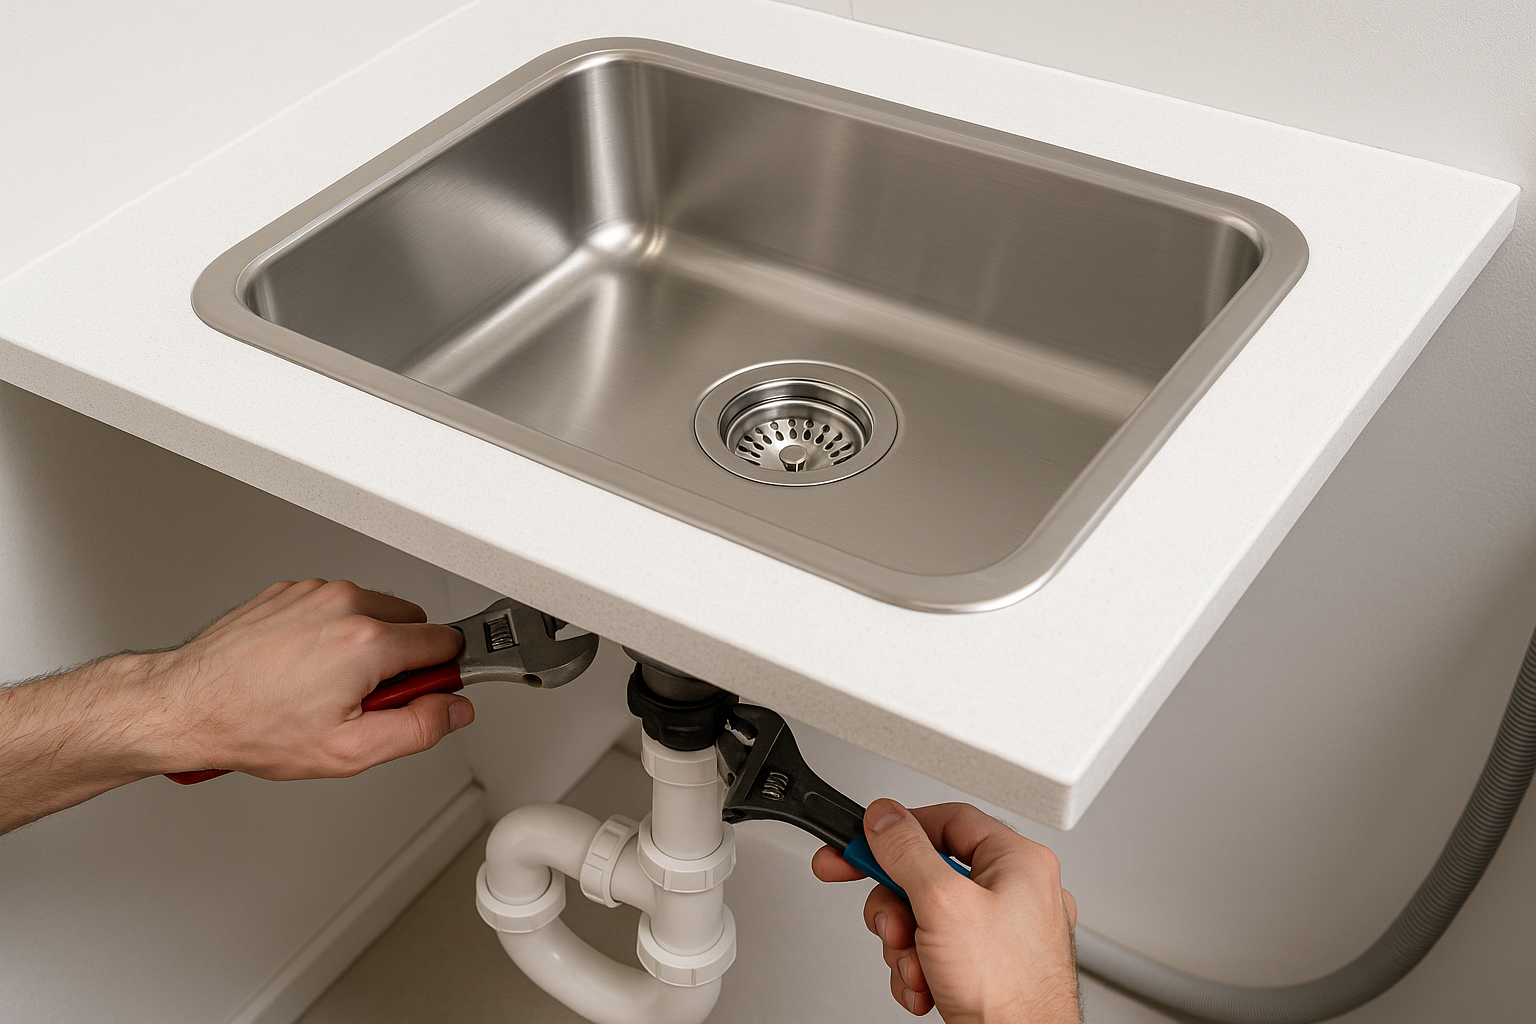
Installing a new sink can instantly improve the look and function of a kitchen, bathroom, or utility space. Whether you are replacing an old fixture or completing a full renovation, a successful sink installation depends on careful planning, the right tools, and attention to detail. While some homeowners are comfortable tackling this as a DIY project, others may prefer to hire a professional plumber for a faster, worry-free result.
Why Sink Installation Matters
A sink is one of the most-used fixtures in any home, so proper installation is essential. A poorly installed sink can lead to leaks, water damage, loose fittings, drainage problems, and even mold growth over time. Beyond function, the right sink installation can also improve workflow, storage, and the overall appearance of the room.
Before starting, it helps to think about how the sink will be used. Kitchen sinks need durability and ample basin space. Bathroom sinks often focus more on style and compact design. Utility sinks may need deeper basins and stronger materials. Choosing the right sink for the space is the first step toward a successful installation.
Planning Your Sink Installation
Good preparation makes the installation process much easier. Start by measuring the cabinet, countertop, and plumbing connections to ensure the new sink will fit properly. Compare the dimensions of the sink with the available space, including clearance for faucets, drains, and under-sink plumbing.
You should also check the sink type before beginning. Common options include top-mount sinks, undermount sinks, pedestal sinks, vessel sinks, and wall-mounted sinks. Each style has different installation requirements, and not every sink works in every room or on every countertop surface.
Tools and Materials You May Need
Having the right tools ready can save time and reduce mistakes. Typical sink installation projects may require a tape measure, adjustable wrench, pipe wrench, plumber’s putty, silicone sealant, utility knife, bucket, screwdriver, and plumber’s tape. Depending on the setup, you may also need supply lines, drain assemblies, clips, or mounting hardware.
It is also smart to shut off the water supply before starting. Place a bucket under the plumbing to catch any remaining water in the pipes. If you are replacing an existing sink, remove everything carefully so you do not damage the countertop or surrounding finishes.
Step-by-Step Sink Installation Overview
Although exact steps vary by sink type, most installations follow a similar process. First, dry-fit the sink to confirm that it sits correctly in the opening. This is a key step because once sealant is applied, adjustments become harder.
Next, install the faucet and drain components before placing the sink, if access is easier at this stage. Apply plumber’s putty or silicone where needed, depending on the fixture instructions. Then lower the sink into position and secure it using the recommended mounting method.
For top-mount sinks, the lip of the sink usually rests on the countertop and is sealed from above. For undermount sinks, brackets and adhesive support the basin from below the counter. Pedestal and wall-mounted sinks require secure anchoring to support the weight of the basin and plumbing.
Once the sink is mounted, connect the water supply lines and drain assembly. Tighten all fittings firmly, but avoid over-tightening, which can damage threads or seals. After everything is connected, turn the water back on slowly and check for leaks around the faucet, drain, and shutoff valves.
Common Challenges During Sink Installation
Even a straightforward sink installation can present a few challenges. One of the most common issues is an improper fit. If the opening is too large or too small, the sink may not sit securely. Another frequent problem is misaligned plumbing, especially when replacing an old sink with a new model that has different drain positions.
Leaks are another concern. These often happen when seals are not applied correctly or connections are not tightened enough. In some cases, old plumbing parts may need to be replaced to create a reliable seal. If you notice dripping after installation, turn the water off and inspect each connection one by one.
Countertop material can also affect the process. Stone, laminate, solid surface, and wood each require different handling. Undermount sinks, in particular, must be supported properly so the bond stays strong over time.
When to Call a Professional
Some sink installation projects are best left to a licensed plumber. This is especially true if the job involves modifying supply lines, replacing drain piping, working with expensive countertop materials, or moving plumbing locations. A professional can help ensure the installation meets local codes and functions correctly from the start.
Hiring an expert may also be worthwhile if you are unsure about sealing methods, mounting hardware, or compatibility with the existing plumbing. In many cases, paying for professional installation can prevent costly repairs later.
Maintaining Your New Sink
After installation, regular maintenance helps your sink last longer. Check under the sink occasionally for signs of moisture, loose fittings, or corrosion. Keep the drain clear by avoiding grease buildup, hair clogs, and debris. For bathroom and kitchen sinks alike, clean the basin and faucet regularly with non-abrasive products to protect the finish.
If the caulking around the sink begins to crack or separate, replace it promptly to prevent water from getting behind the fixture. A few minutes of maintenance can help preserve the sink and the surrounding cabinetry or countertops.
Conclusion
Sink installation is a manageable project when you plan carefully, choose the right materials, and follow each step methodically. Whether you are upgrading a bathroom vanity or replacing a kitchen centerpiece, a properly installed sink improves both performance and appearance. If the project feels too complex, a professional plumber can ensure the job is done safely and correctly.