Why Plumbing Leak Testing Matters
Hidden plumbing leaks can waste water, damage property, and drive up utility bills—often long before you notice any obvious signs. From slow drips under sinks to pinhole leaks inside walls, even minor failures can create major problems over time. That’s why plumbing leak testing is a smart preventive step for homeowners and property managers alike. The goal is simple: identify leaks accurately, locate their source quickly, and resolve them before they cause costly repairs or health concerns like mold.
Common Signs of a Hidden Leak
Sometimes leaks announce themselves. Other times, they hide behind daily routines. Watch for these frequent indicators:
- Unexpected water bill increases, especially with no change in usage
- Wet spots on floors, ceilings, or around fixtures
- Musty odors that suggest moisture behind walls
- Damp drywall, bubbling paint, or stained surfaces
- Low water pressure or fluctuating pressure
- Sounds of running water when everything is off
- Pools of water near water heaters, toilets, or supply lines
Types of Plumbing Leaks You Might Encounter
Knowing what you’re dealing with makes leak testing more effective. Common leak types include:
Supply line leaks
These occur on the pressurized side of your plumbing system—feeding sinks, showers, toilets, and appliances. They may appear as dampness under cabinets or behind walls.
Drain line leaks
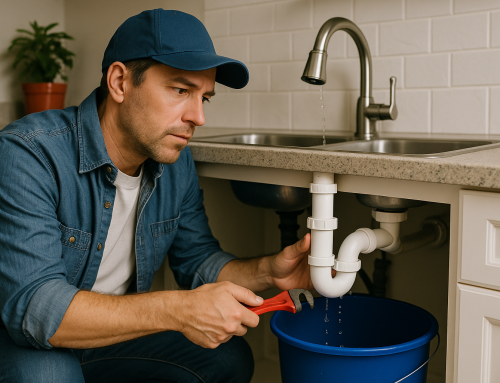
Drain pipes carry used water and can leak in ways that are less obvious than supply leaks. They may cause slow seepage, odors, or wet subflooring.
Toilet and fixture leaks
Toilets are frequent culprits. A failing flapper, worn fill valve, or cracked seal can lead to constant refill cycles or intermittent dripping.
Water heater leaks
Corrosion, pressure relief valve issues, or failed fittings can lead to pooling water near the tank, rusting, or damp areas around connections.
How Plumbing Leak Testing Works
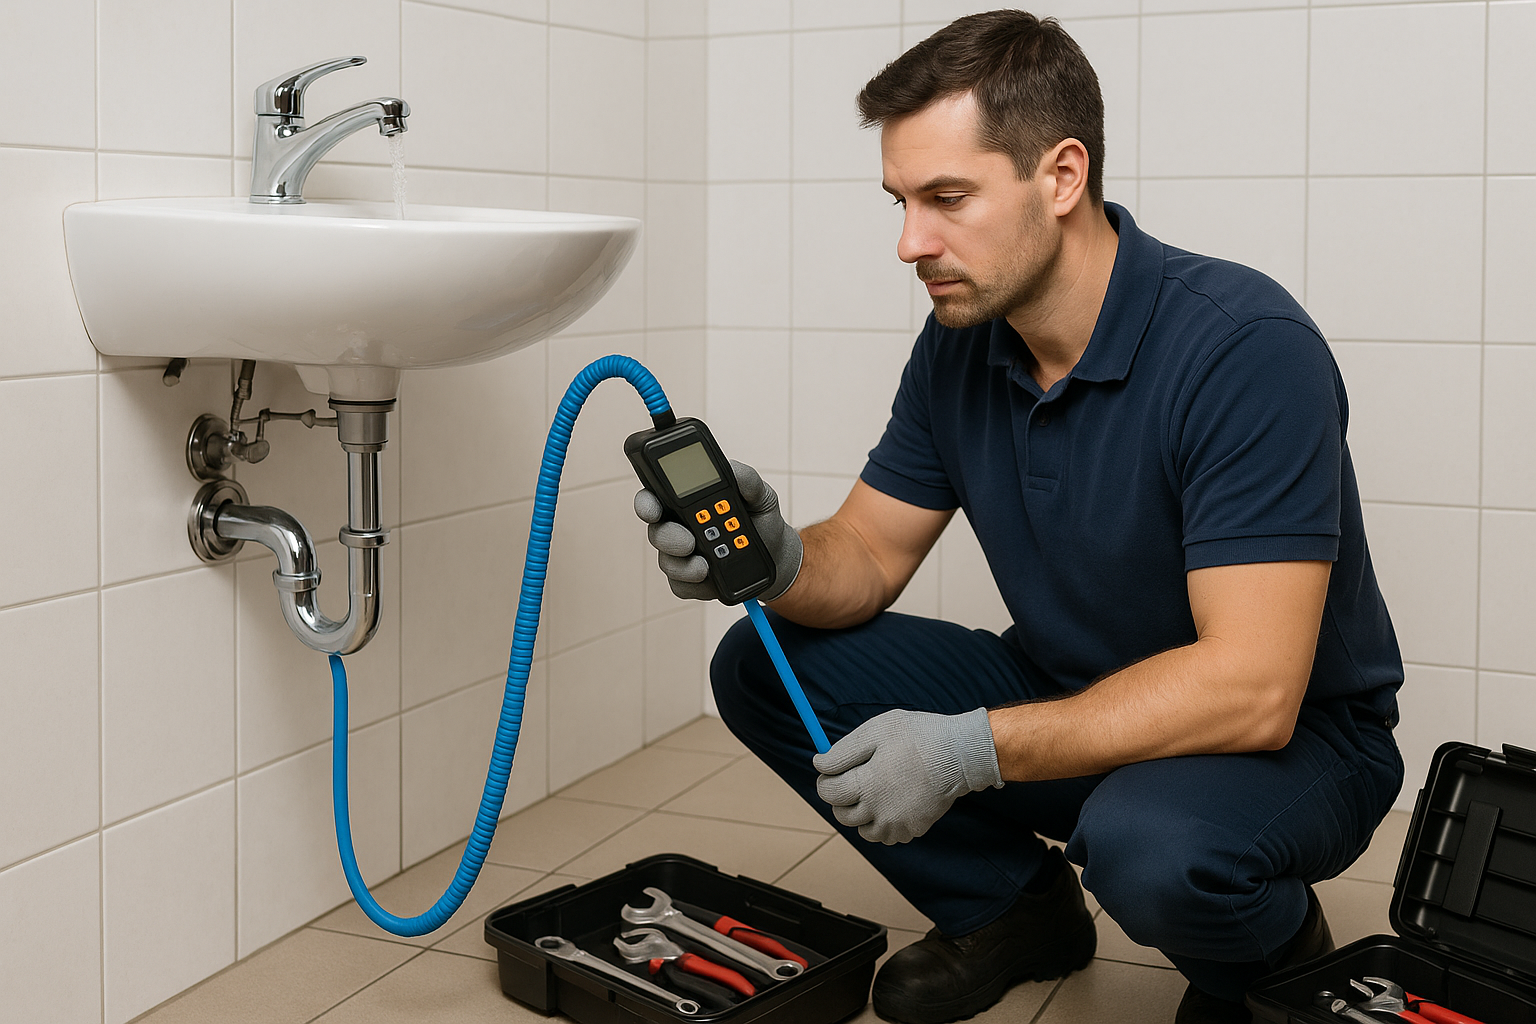
Leak testing aims to pinpoint the source of water loss using controlled methods and measurement. Technicians typically follow a process that starts with observation and ends with confirmatory testing. Depending on the property and suspected location, testing may involve isolating sections of plumbing, checking pressure stability, or using specialized detection tools.
Step 1: Visual inspection and system diagnosis
A thorough inspection looks for visible damage, corrosion, damp insulation, and appliance connections. Technicians also review recent plumbing work, recent weather events, and patterns in water usage.
Step 2: Establishing a baseline
Before applying any test, the system is typically checked for normal operating conditions. For example, water pressure may be recorded and the meter may be monitored to determine whether usage is occurring when it should not.
Step 3: Isolating suspect zones
Rather than testing the entire home at once, pros isolate likely sections (like a specific branch line or fixture group). This reduces time and improves accuracy, especially in larger systems.
Step 4: Conducting the test and interpreting results
Once the system is isolated, a pressure or other diagnostic method may be used. Results are interpreted by comparing how the system behaves during testing versus after.
Common Plumbing Leak Testing Methods
Different situations call for different methods. Here are the most common approaches used by professionals.
Pressure testing (static and residual)
Pressure testing is one of the most common methods for detecting leaks on pressurized lines. The technician applies controlled air or water pressure (depending on the system and safety requirements) and monitors whether pressure holds. If pressure drops over time, a leak is likely.
Best for: supply lines, newly installed plumbing, and areas where access allows isolation.
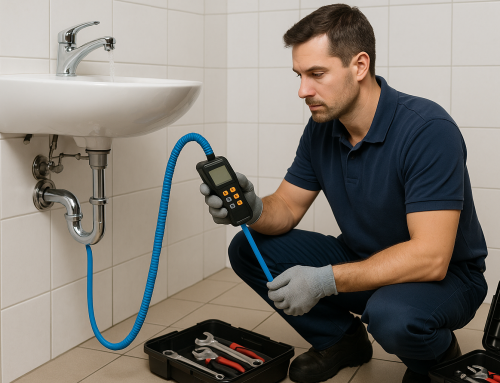
Leak detection using electronic sensors
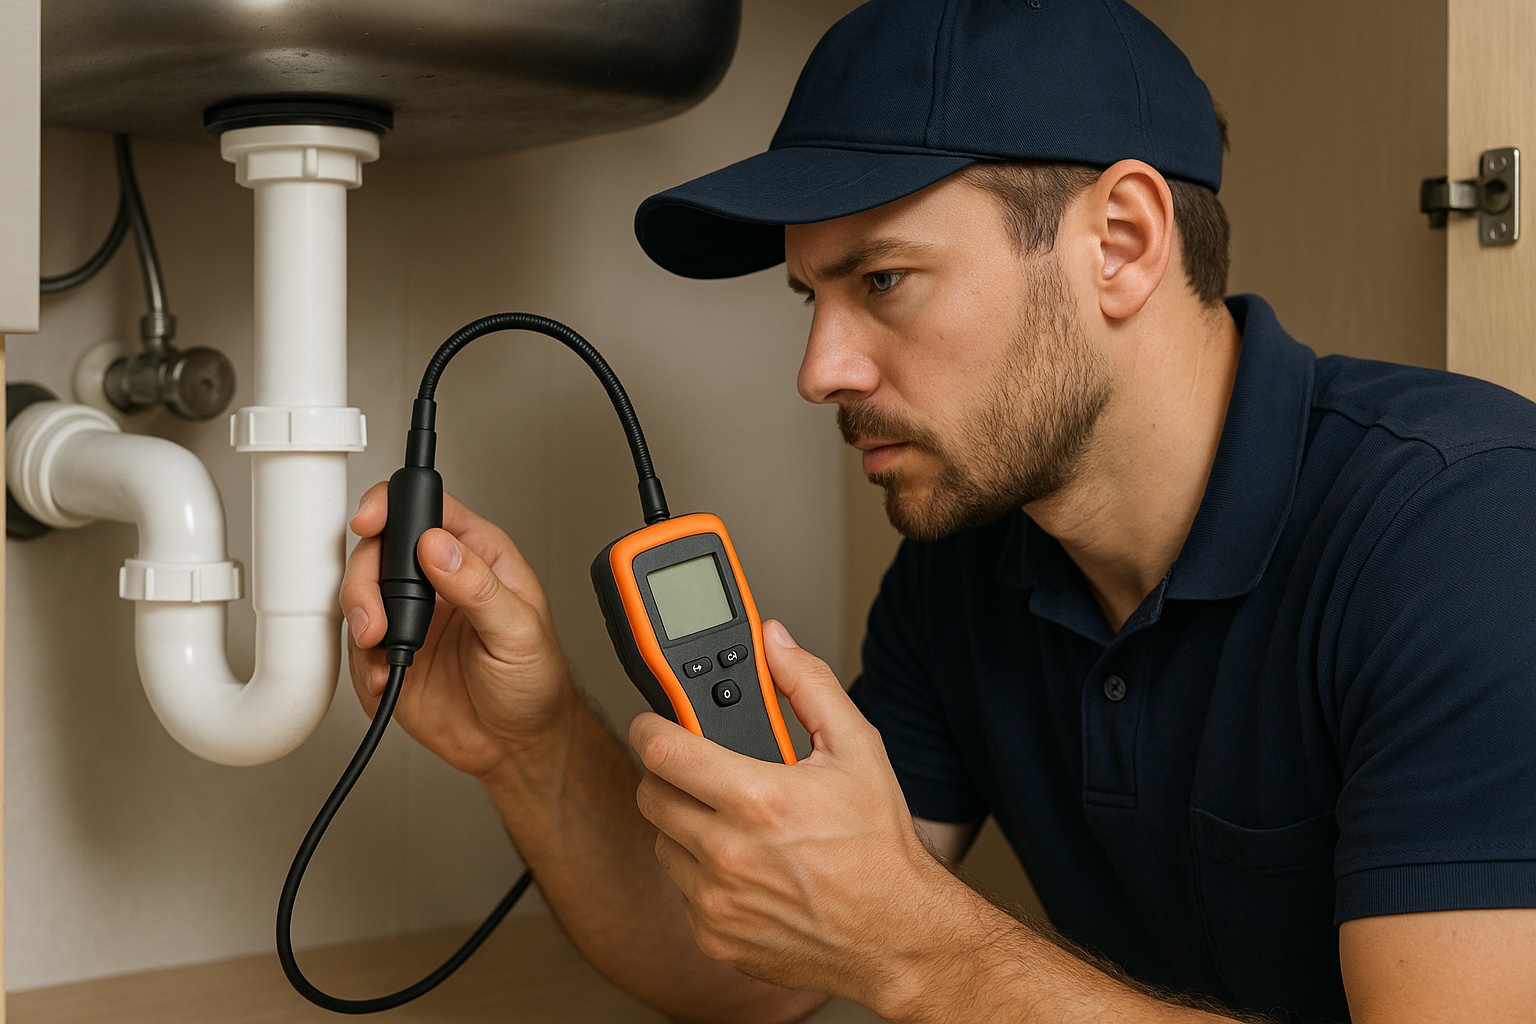
Electronic leak detectors can identify the presence of moisture, sometimes locating leaks near walls or under floors. These tools are especially helpful when the leak is hidden and visual inspection isn’t enough.
Best for: concealed leaks, wet drywall detection, and confirming the general location.
Acoustic (listening) leak detection
Acoustic methods use specialized equipment to listen for the sound of leaking water or water flow through pipe joints. This can help narrow the location in pipe runs where water escapes under pressure.
Best for: supply line leaks with active flow and accessible noise monitoring areas.
Infrared thermal imaging
Thermal imaging cameras detect temperature differences caused by water escaping behind surfaces. In many cases, this method helps identify wet areas without opening walls immediately.
Best for: larger hidden leak areas and confirmation before repairs.
Whole-home or meter-based testing
If the leak is intermittent or not easily visible, a whole-home approach can help. The technician may monitor the water meter while confirming that no fixtures are running, then correlate meter movement to leak activity.
Best for: suspected leaks in the overall plumbing system, especially slow leaks.
DIY Leak Checks You Can Do Before Calling a Pro
While professional testing is often the fastest route to the true source, you can perform a few safe checks to gather clues:
- Toilet bucket test: Add a few drops of food coloring to the tank. If color appears in the bowl without flushing, you likely have a toilet leak.
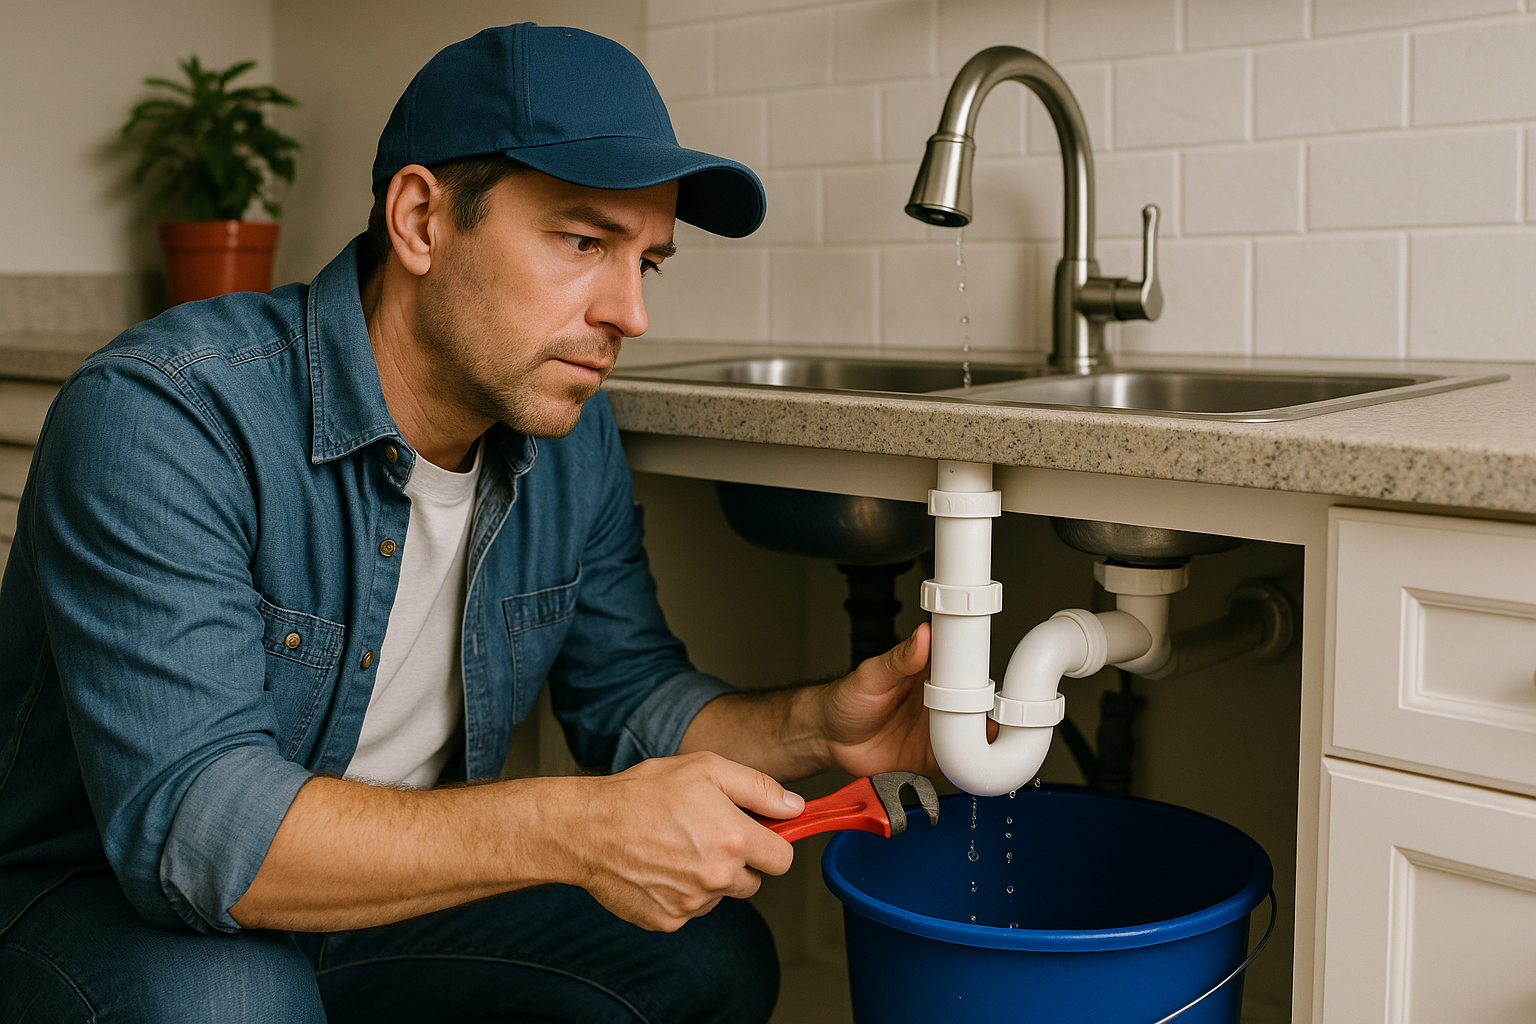
- Check visible supply lines: Look under sinks, behind toilets, and around appliances for dampness or corrosion.
- Water meter watch: Turn off all water inside and check whether the meter continues to move.
- Paper towel test: Wrap suspected connection points with dry paper towels to see if they become wet.
Tip: If you detect water intrusion in ceilings or walls, avoid prolonged use of the affected area. Early intervention can reduce damage.
When to Schedule Plumbing Leak Testing
Consider leak testing in these situations:
- After noticing higher bills or recurring wet spots
- Before buying or selling a home to uncover potential issues
- After repairs or plumbing work to ensure the system is sound
- During seasonal changes if pipes expand/contract and issues appear
- When mold or moisture odors suggest hidden water
What to Expect During a Professional Testing Visit
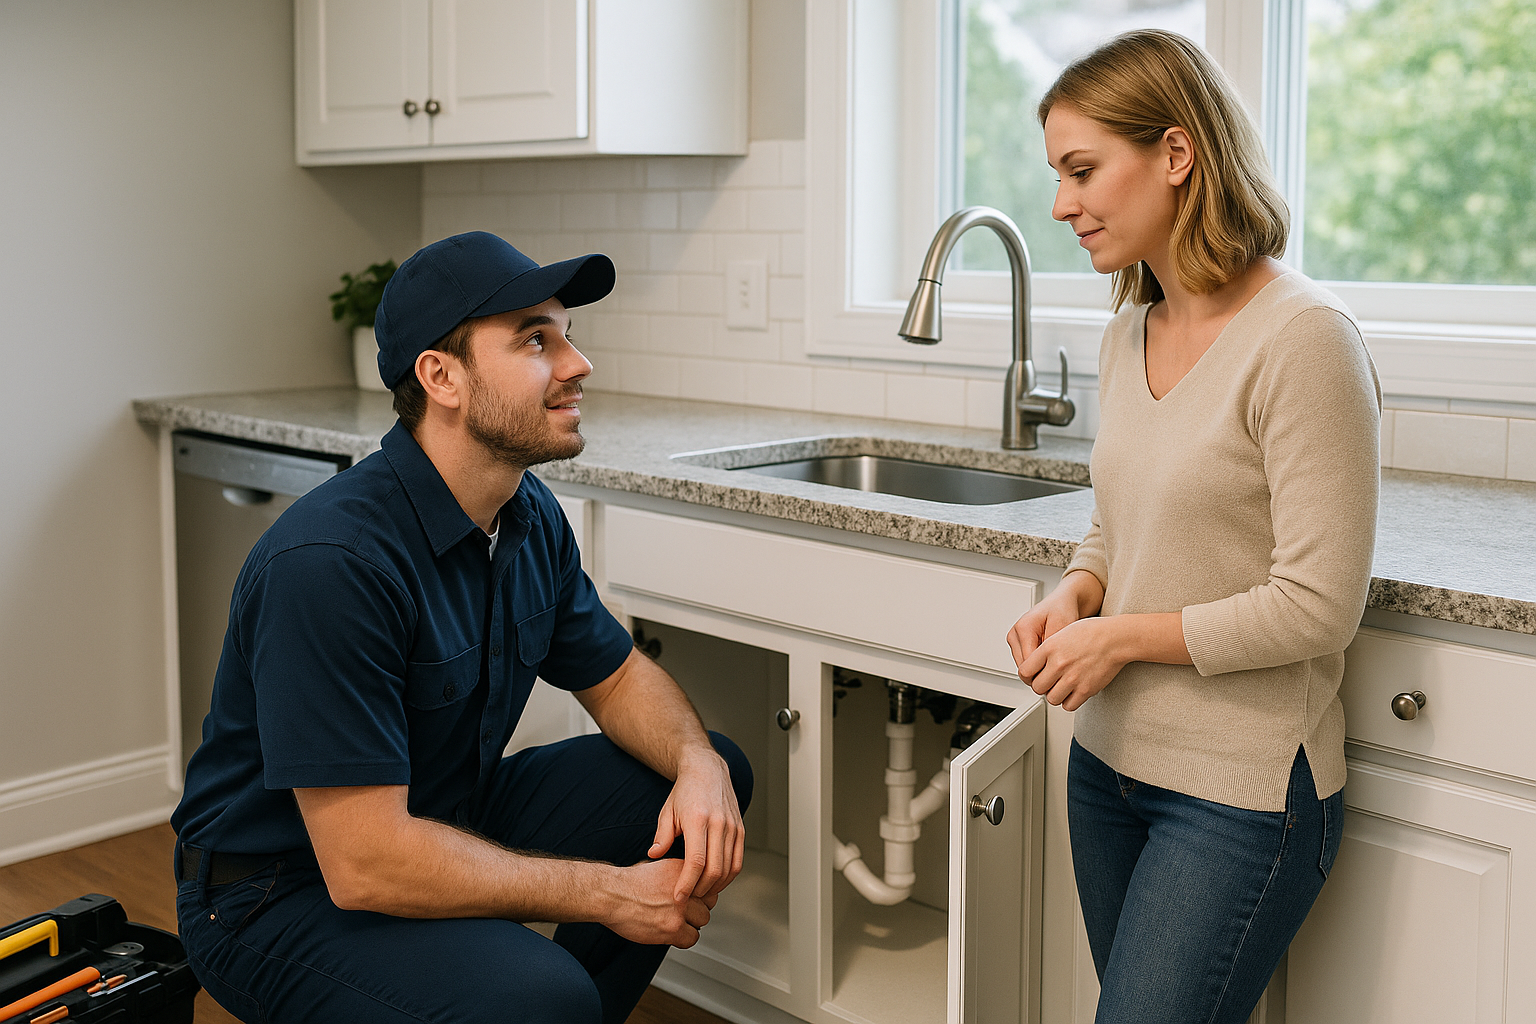
A reputable leak testing technician will typically explain the suspected areas, describe which testing method they’ll use, and provide findings clearly. Expect the process to include:
- Setting up measurements (meter, pressure, or baseline conditions)
- Using one or more diagnostic tools to narrow the leak location
- Confirming results before recommending repair
- Outlining next steps and any access points needed
Because different tests have different strengths, professionals often use a combination of methods to avoid guesswork.
Repairing After Leak Testing: Next Steps
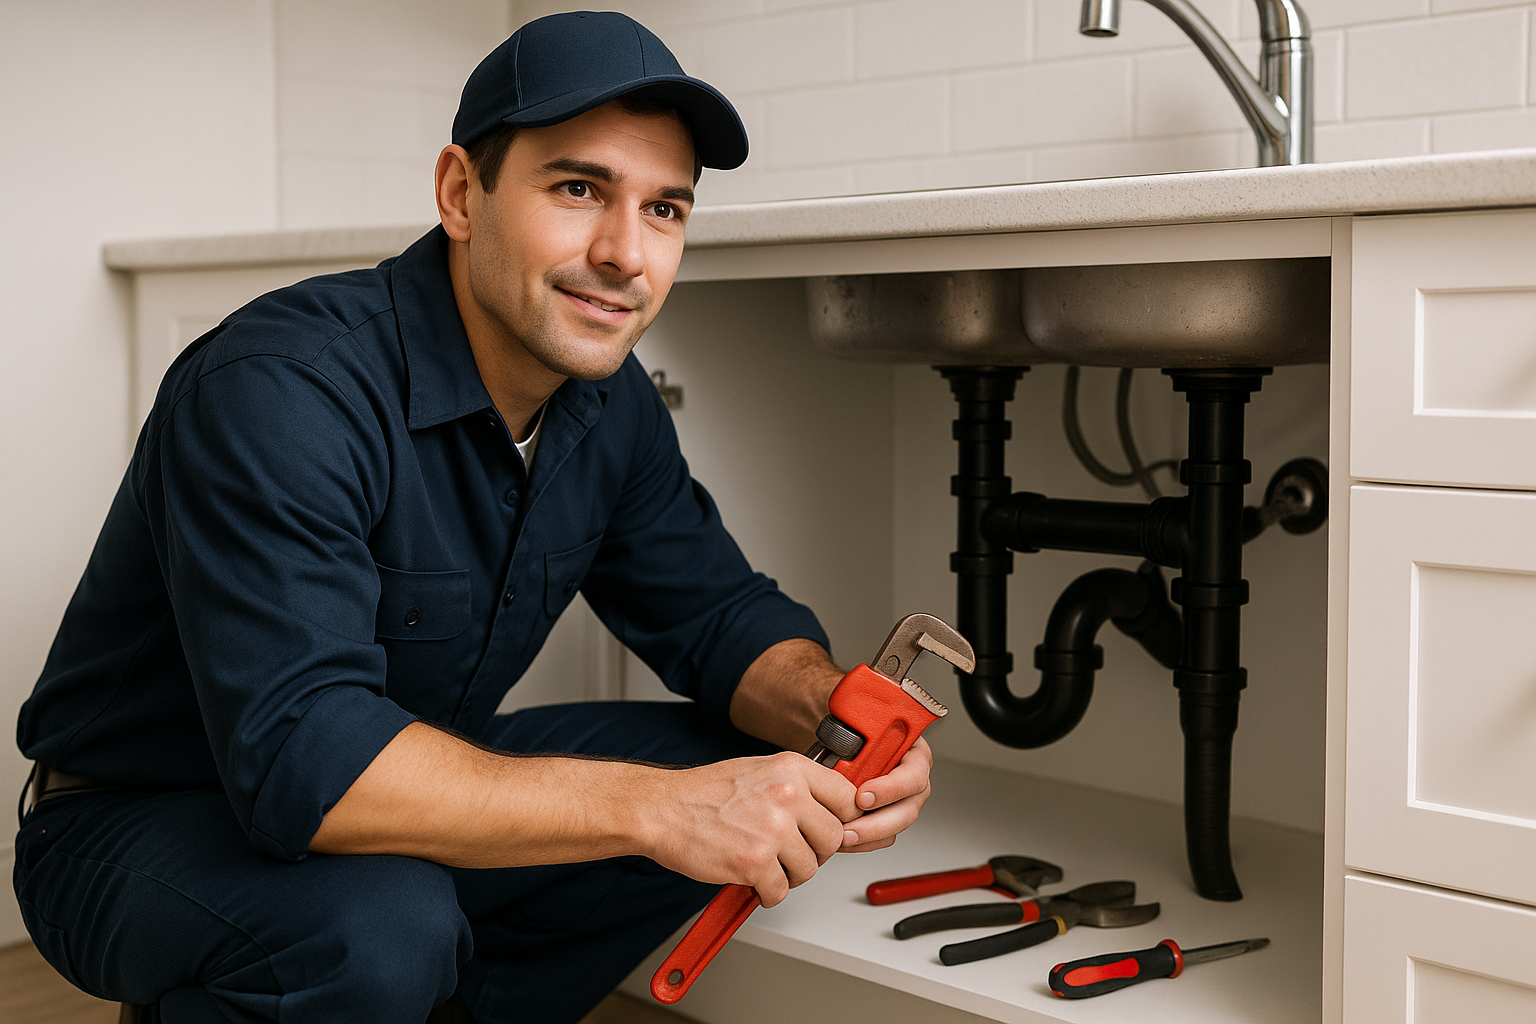
Once the leak location is confirmed, repairs may involve replacing worn seals, tightening or replacing fittings, swapping damaged pipe sections, or addressing underlying drainage problems. If moisture has spread into insulation or drywall, remediation may be necessary to prevent recurring issues and mold growth. A good repair plan considers both where the leak is and how water affected surrounding materials.
How to Reduce Future Leak Risk
Leak prevention is easier than remediation. To lower your risk:
- Replace aging supply lines and valves before they fail
- Check toilets and fixtures regularly for signs of constant running
- Maintain your water heater and inspect connections
- Insulate pipes in colder climates to reduce stress and freezing damage
- Address small leaks promptly—small problems often grow
Short Conclusion
Plumbing leak testing is the most reliable way to locate hidden water problems, protect your home from damage, and prevent recurring repairs. By using the right diagnostic methods and addressing leaks quickly, you can save money on utilities, reduce mold risk, and restore peace of mind.