Water Heater Installation: A Practical Guide for Homeowners
Few home systems affect daily comfort as much as your water heater. From showers and laundry to dishwashing and cleaning, hot water is essential. When your current unit is failing or you’re ready to upgrade, understanding the water heater installation process can help you make a smart, confident decision.
Whether you are replacing an old tank water heater or considering a tankless model, proper installation matters. A well-installed water heater can improve efficiency, reduce energy costs, and give you reliable hot water for years. Below, we’ll cover the key steps, options, and considerations involved in a successful installation.
Choosing the Right Water Heater
Before installation begins, it’s important to choose the right type of water heater for your home. The best option depends on your household size, water usage, fuel source, and budget.
Tank Water Heaters
Traditional storage tank water heaters remain the most common option. These units keep a reservoir of hot water ready for use, making them a dependable choice for many households. They are usually less expensive upfront and available in gas or electric models.
Tankless Water Heaters
Tankless systems heat water on demand instead of storing it. This can improve energy efficiency and free up space, but they typically have a higher installation cost. They are a strong option for homeowners looking for long-term savings and modern convenience.
Other Factors to Consider
When selecting a new unit, think about:
- Household hot water demand
- Available space for installation
- Fuel type and utility connections
- Energy efficiency ratings
- Local plumbing and building codes
Taking time to choose the right system can prevent problems later and ensure your new water heater meets your household’s needs.
What Happens During Water Heater Installation?
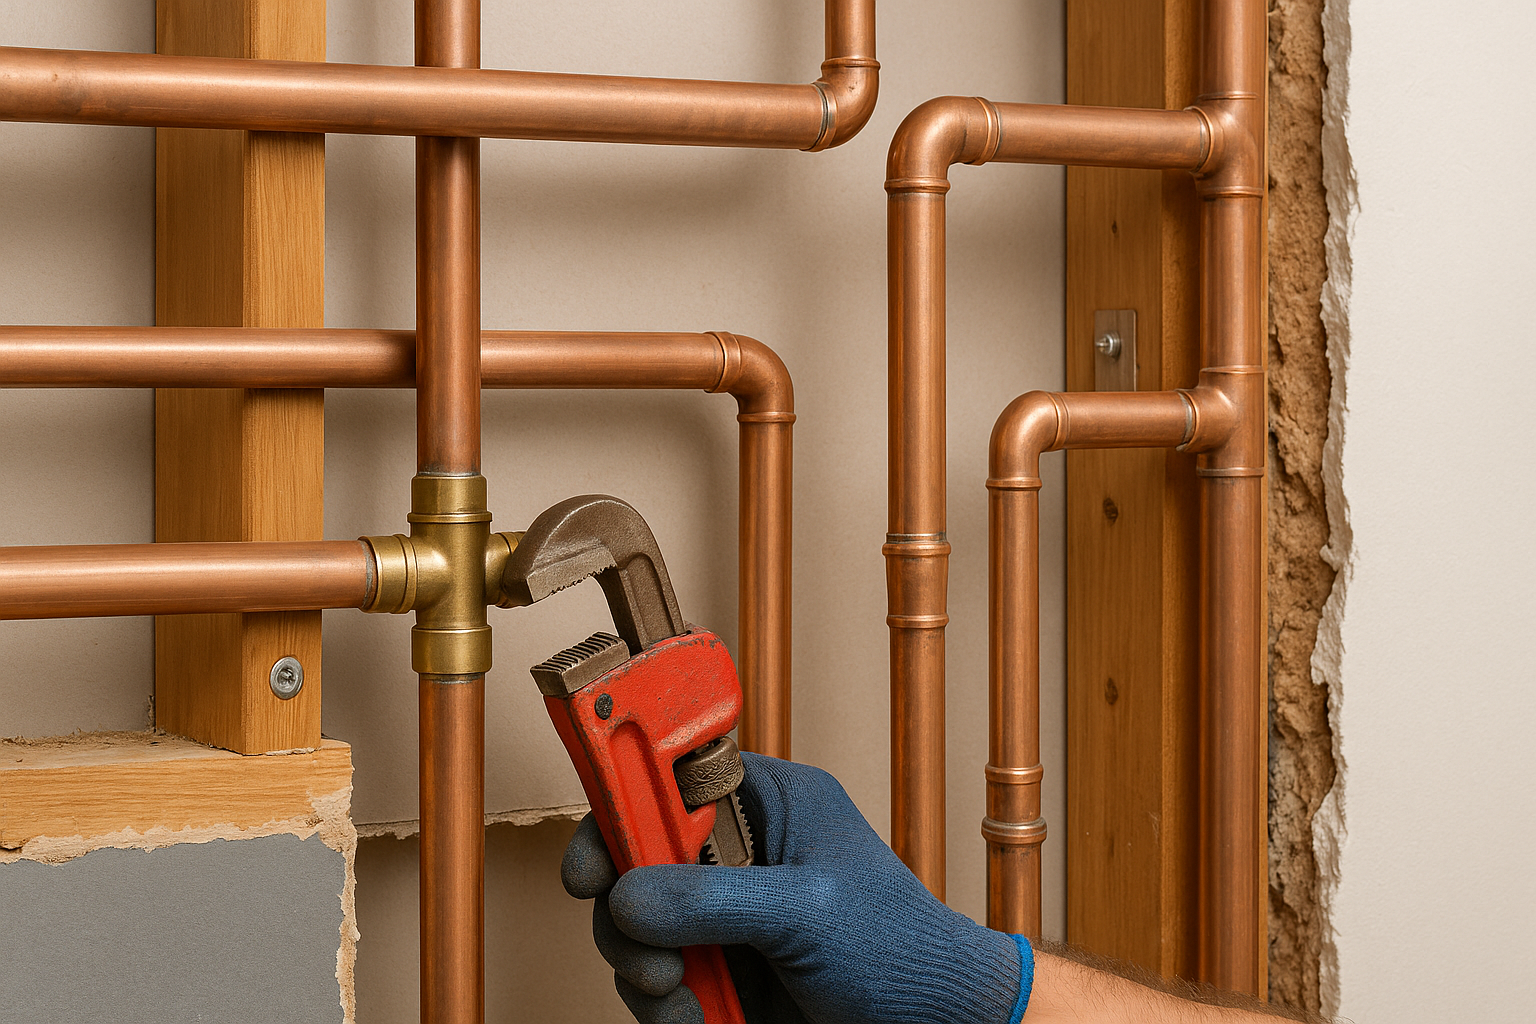
Water heater installation is more than simply swapping out one unit for another. A professional installation typically includes removing the old heater, checking the surrounding plumbing, connecting the new system, and testing it for safe operation.
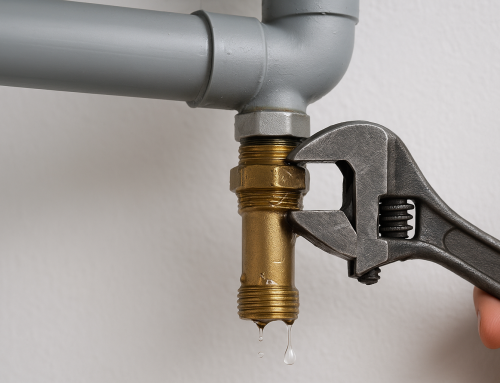
Removing the Old Unit
The process usually starts by shutting off the water, electricity, or gas supply. The old tank is drained and disconnected, then carefully removed from the home. If the unit has leaked or corroded, the installer may inspect nearby flooring, walls, and pipes for damage.
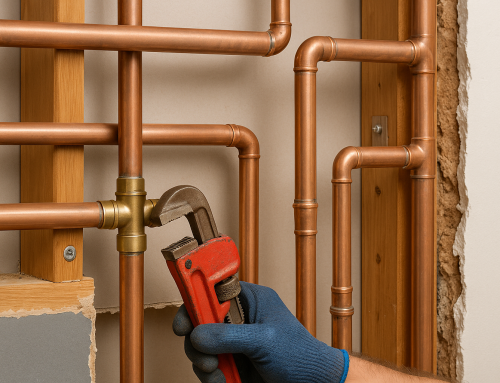
Preparing the Installation Area
Before the new heater is installed, the area must be cleaned and inspected. Installers check for proper ventilation, code compliance, and any necessary upgrades to plumbing, gas lines, or electrical wiring. This step is especially important if you’re switching from a tank unit to a tankless system.
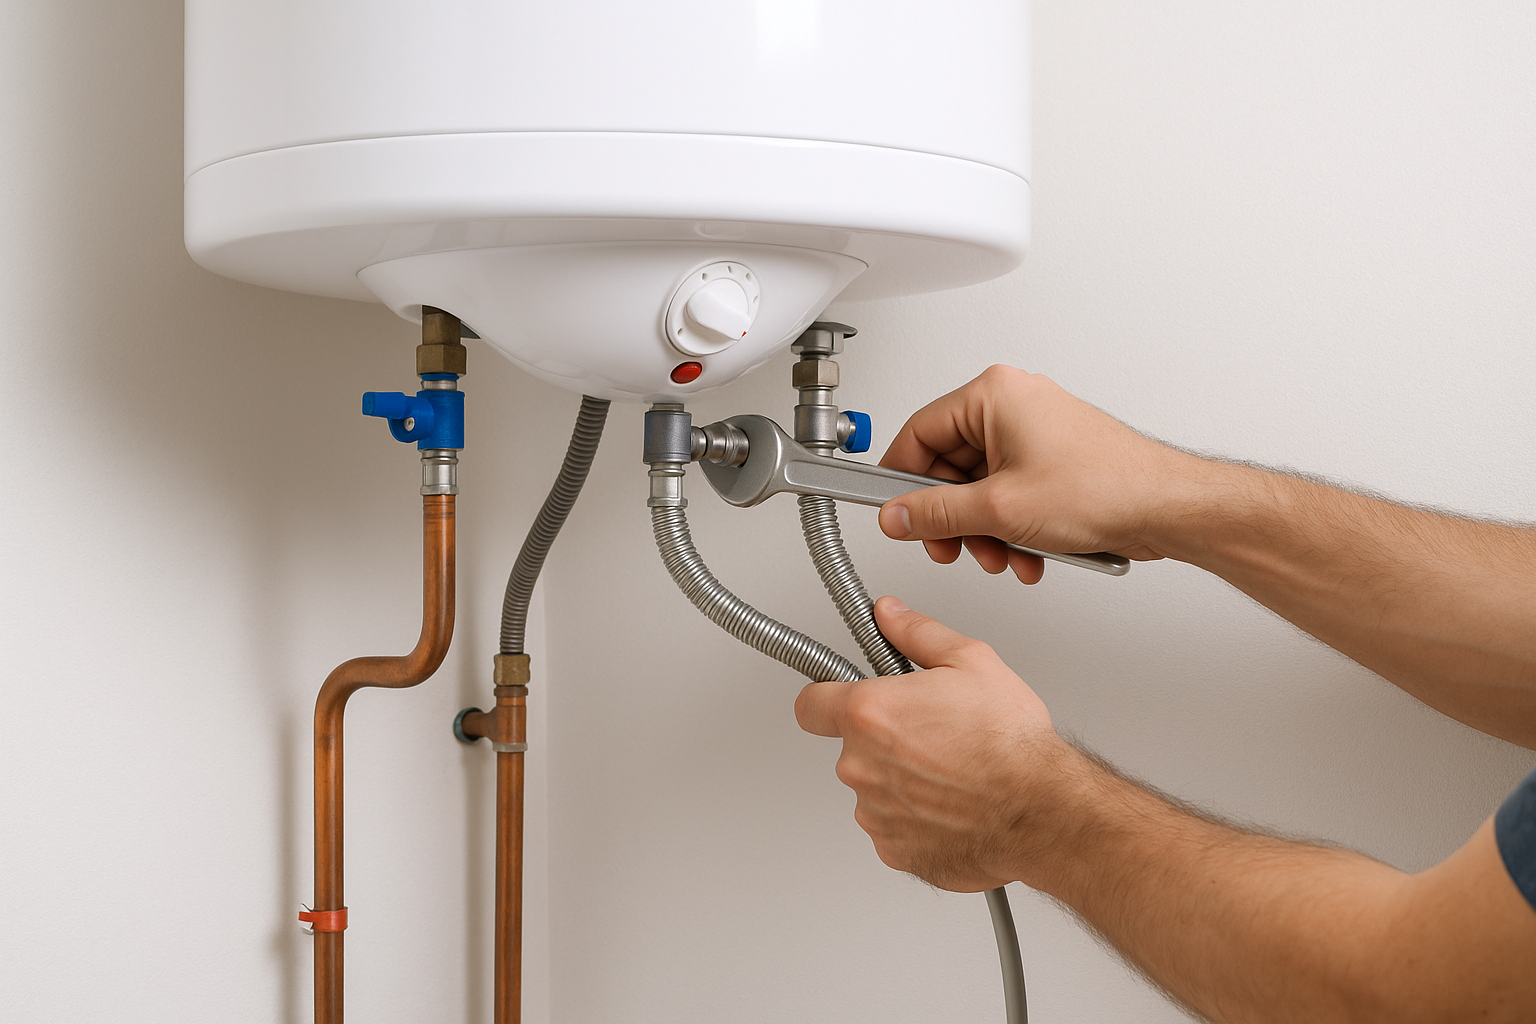
Connecting the New Water Heater
Once the new unit is in place, it is connected to the water supply and fuel source. For gas models, the venting system must also be installed or adjusted to safely remove exhaust gases. Electric models require proper wiring and circuit support. After all connections are made, the system is filled, powered on, and tested.
Why Professional Installation Matters
Although some homeowners may be tempted to handle installation themselves, water heater installation is best left to qualified professionals. A water heater involves plumbing, electrical, and sometimes gas work, all of which must be done correctly to protect your home and family.
Professional installation helps ensure:
- Safe gas or electrical connections
- Proper venting and drainage
- Code-compliant installation
- Reliable performance
- Warranty protection
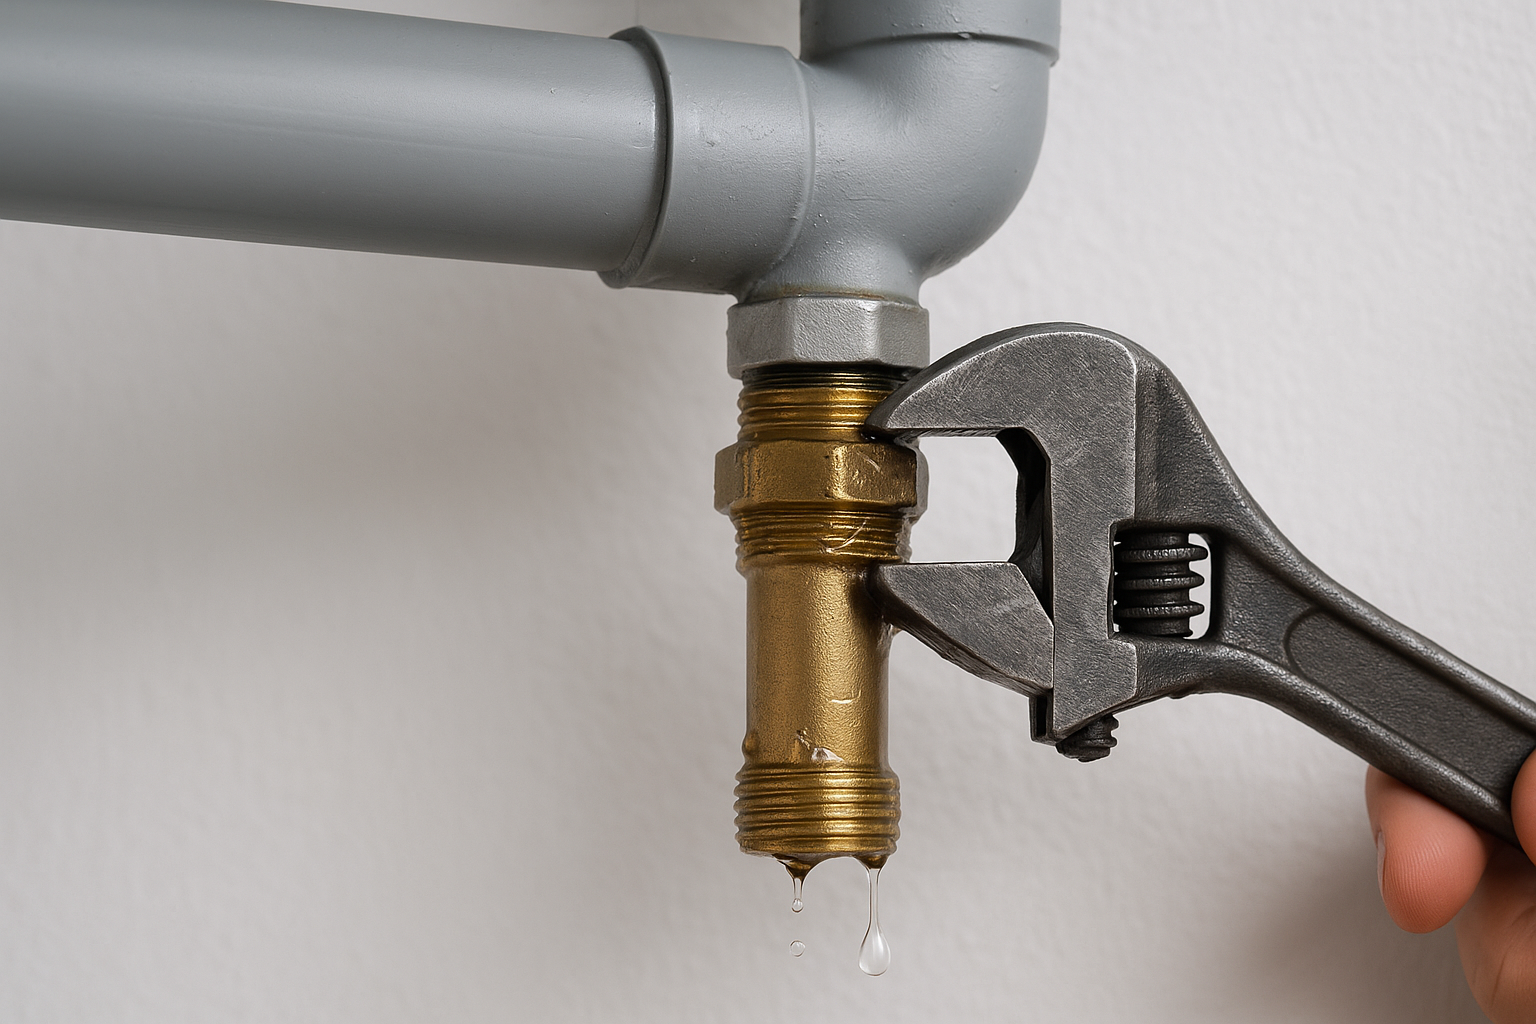
Improper installation can lead to leaks, poor heating, higher energy bills, or even hazardous conditions such as gas leaks or carbon monoxide exposure. Hiring an experienced installer gives you peace of mind and helps avoid costly mistakes.
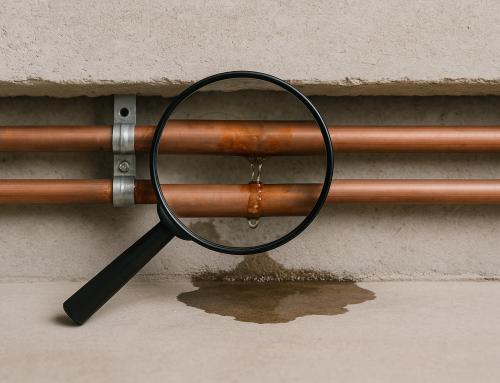
Signs It’s Time to Replace Your Water Heater
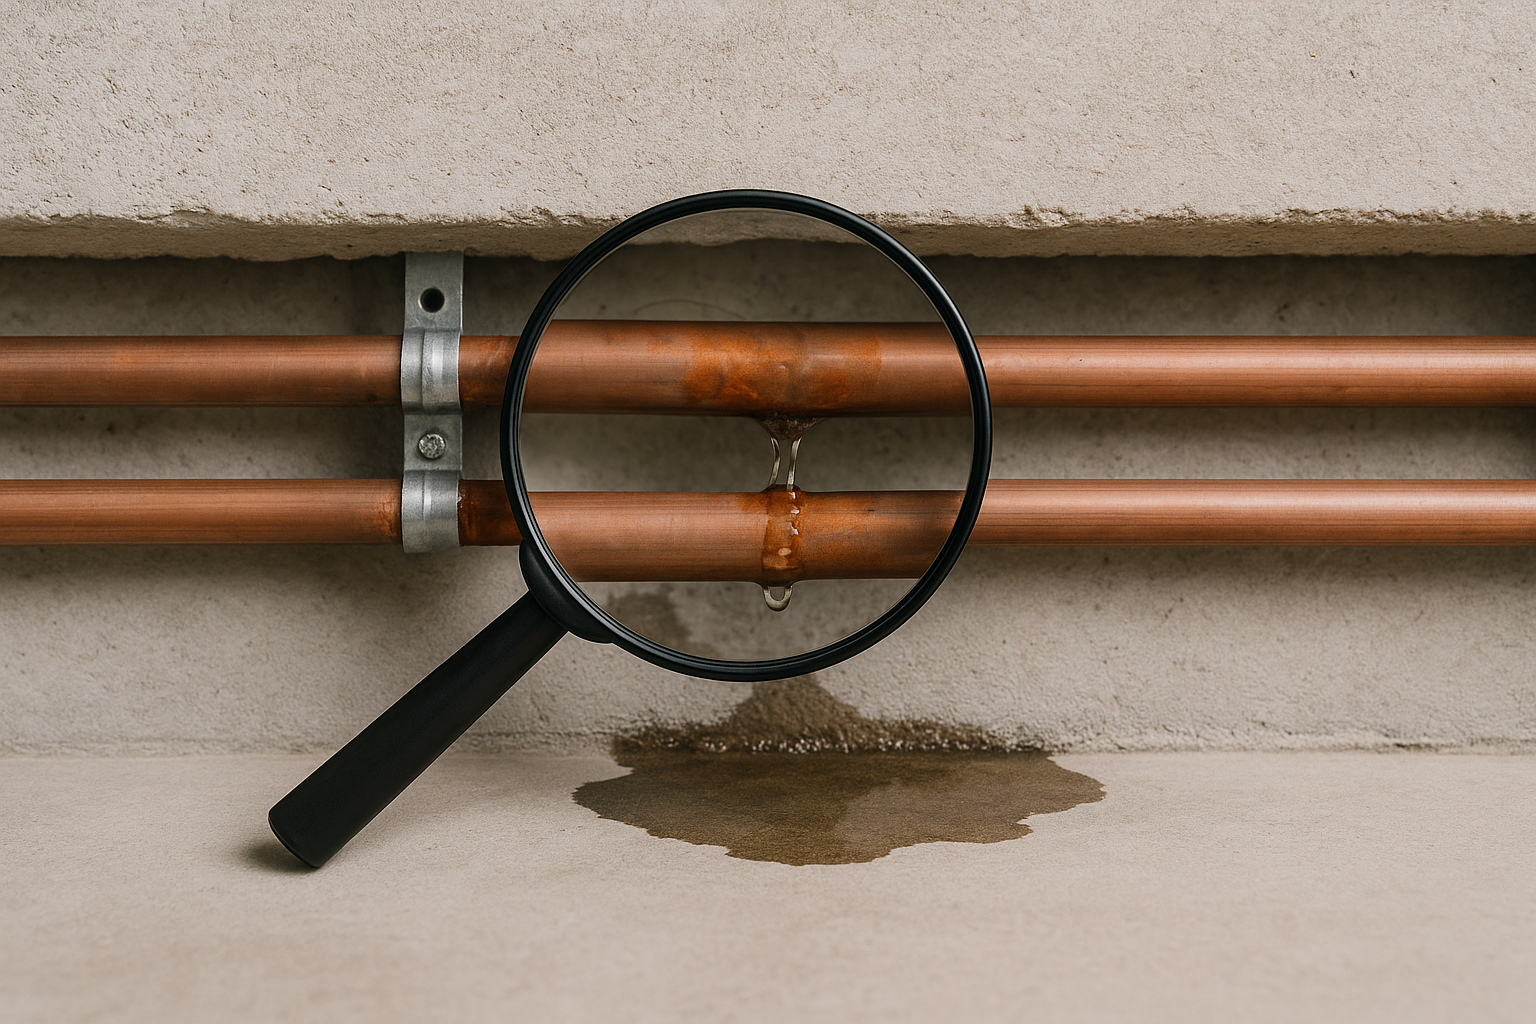
If you’re unsure whether to repair or replace your current unit, look for common warning signs. Many water heaters begin showing signs of failure before they stop working completely.
- Water is not heating consistently
- Rusty or discolored water
- Strange noises from the tank
- Leaks around the base of the unit
- Reduced hot water supply
- The unit is more than 8–12 years old
If your water heater is aging and repairs are becoming frequent, replacement is often the more practical choice. A new installation can restore efficiency and help you avoid an unexpected breakdown.
How to Prepare for Installation Day
Preparing your home ahead of time can help the installation go smoothly. Clear a path to the water heater area and remove any items stored nearby. If the unit is in a garage, basement, or utility closet, make sure the installer has easy access.
You may also want to ask the installer about the expected timeline, permit requirements, and any upgrades needed for your existing setup. In some cases, a new expansion tank, shut-off valve, or venting component may be recommended to support the new system.
Conclusion
Water heater installation is a major home improvement, but it doesn’t have to be stressful. By choosing the right unit and working with a qualified professional, you can enjoy dependable hot water, better efficiency, and long-term peace of mind. If your current heater is showing signs of age or inefficiency, now may be the right time to plan your upgrade.

