Faucet Installation: A Simple Guide for Homeowners
Replacing a faucet is one of the most practical home improvement projects you can take on. A new faucet can update the look of your kitchen or bathroom, improve water flow, and stop annoying leaks that waste water and drive up utility bills. While faucet installation may seem intimidating at first, many homeowners can complete the job with basic tools and a little patience.
Whether you are upgrading an outdated fixture or replacing a damaged one, understanding the process before you begin can save time and frustration. Below, you’ll find a clear overview of what faucet installation involves, how to prepare, and what to do to make sure the finished result is secure and leak-free.
Why Faucet Installation Matters
A properly installed faucet does more than improve appearance. It helps maintain good water pressure, prevents leaks under the sink, and supports the overall efficiency of your plumbing system. Even a small drip can lead to wasted water and potential damage to cabinets, countertops, and flooring over time.
Installation is also a chance to choose a faucet that better fits your routine. For example, a pull-down kitchen faucet can make rinsing dishes easier, while a single-handle bathroom faucet can simplify daily use. The right fixture can improve both function and comfort.
Types of Faucets You May Install
Kitchen Faucets
Kitchen faucets often include features like pull-out sprayers, swivel spouts, and single-handle controls. Because they are used frequently, durability and ease of cleaning are especially important.
Bathroom Faucets
Bathroom faucets come in a variety of configurations, including center-set, single-hole, and widespread styles. The style you choose must match the sink or countertop setup.
Utility or Laundry Faucets
These faucets are designed for practical use in utility rooms, basements, or laundry areas. They may not be as decorative, but they still need to be installed securely and correctly to avoid leaks.
Tools and Materials You’ll Need
Before starting, gather the necessary tools and materials. Having everything ready helps the project go more smoothly and reduces the chance of delays once the water is off.
- New faucet and included hardware
- Adjustable wrench
- Basin wrench
- Screwdriver
- Plumber’s putty or silicone sealant, if required
- Towels or a small bucket
- Flashlight
- Plumber’s tape, if recommended by the faucet manufacturer
Always check the installation instructions that come with the faucet. Some models have unique requirements, and following the manufacturer’s directions is the best way to avoid problems later.
Preparing for Faucet Installation
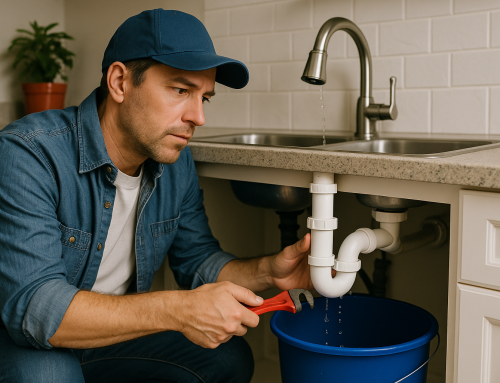
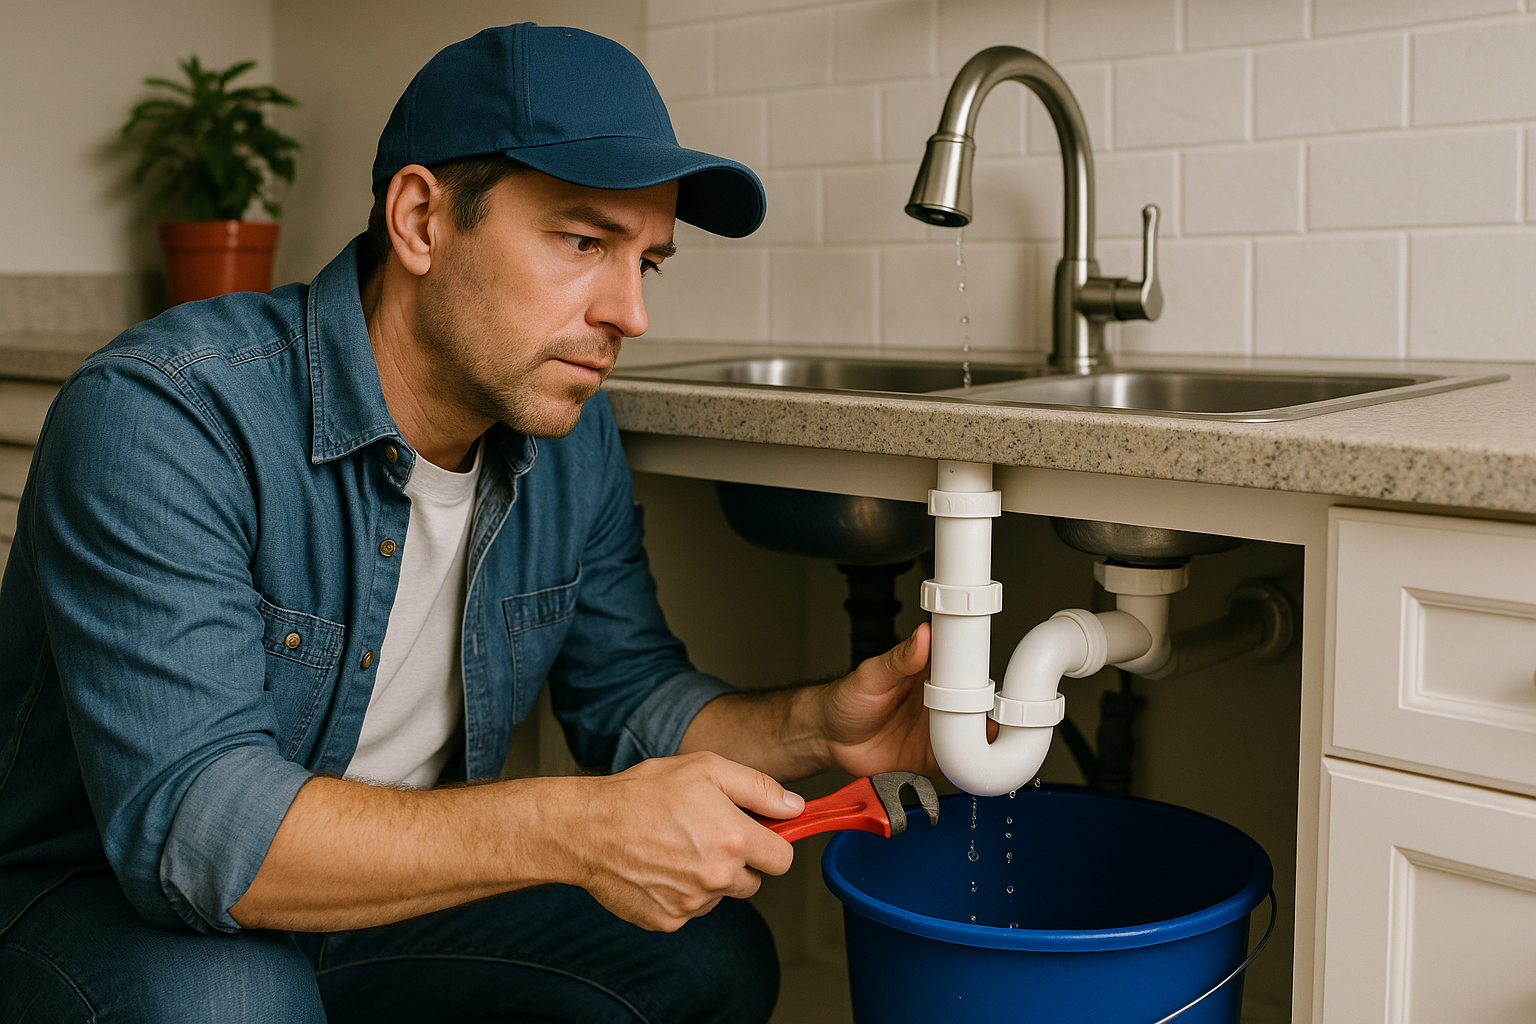
Good preparation is key to a successful installation. Start by turning off the water supply valves under the sink. Then open the faucet to drain any remaining water from the lines. Place a towel or bucket beneath the sink to catch drips and protect the cabinet area.
If you are replacing an old faucet, inspect the sink and surrounding area before removal. Look for corrosion, mineral buildup, or damaged supply lines. If the shutoff valves are stiff or leaking, consider replacing them before installing the new faucet.
Step-by-Step Faucet Installation Process
1. Remove the Old Faucet
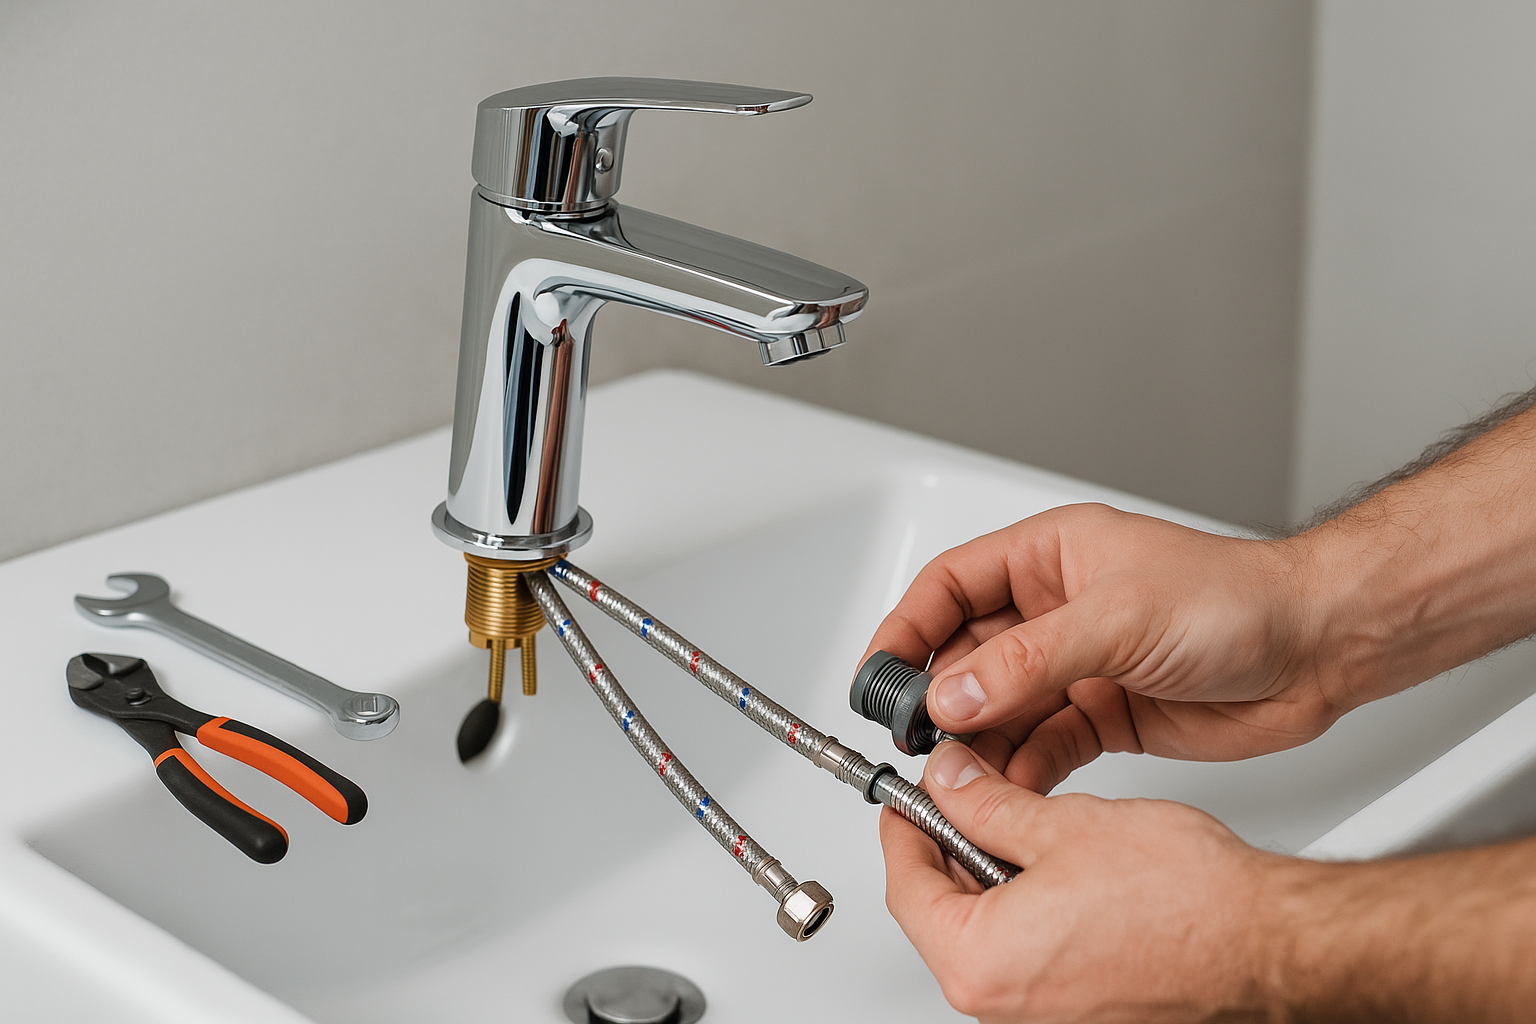
Disconnect the supply lines and loosen the mounting hardware holding the old faucet in place. This step can be the most challenging, especially if the parts are corroded or difficult to reach. A basin wrench can help you access tight spaces under the sink.
2. Clean the Sink Surface
Once the old faucet is removed, clean the sink or countertop opening thoroughly. Remove old sealant, mineral deposits, and debris so the new faucet has a smooth, secure surface to rest on.
3. Position the New Faucet
Follow the instructions for placing the gasket, deck plate, or sealant. Carefully insert the faucet into the mounting holes and align it properly before tightening anything.
4. Secure the Faucet
From beneath the sink, install the mounting hardware and tighten it according to the manufacturer’s recommendations. Be careful not to overtighten, as this can damage the fixture or the sink surface.
5. Connect the Supply Lines
Attach the hot and cold water supply lines to the faucet and shutoff valves. Use plumber’s tape if the instructions call for it. Make sure each connection is snug, but avoid forcing the fittings.
6. Turn the Water Back On
Slowly reopen the shutoff valves and check for leaks at every connection. Run both hot and cold water for a minute to flush out air and debris. Inspect beneath the sink while the water is running to confirm everything is dry.
Common Faucet Installation Mistakes to Avoid
Even a straightforward installation can run into trouble if you rush. One common mistake is failing to measure the sink configuration before buying a faucet. Not every fixture fits every sink, so compatibility matters.
Another mistake is overtightening connections. Too much force can crack fittings or strip threads, creating new leaks instead of preventing them. It is also important not to skip leak testing. A slow drip may not be obvious right away, but it can cause damage over time.
Finally, don’t overlook the condition of the shutoff valves and supply lines. If these parts are old or worn, replacing the faucet alone may not solve the problem.
When to Call a Professional
Although many faucet installations are DIY-friendly, some situations are better handled by a plumber. If the plumbing under the sink is corroded, the shutoff valves do not work properly, or the new faucet requires major modifications, professional help can save time and stress.
You may also want expert assistance if you are working with a wall-mounted faucet, an unusual sink design, or a leak that appears to be coming from deeper in the plumbing system.
Conclusion
Faucet installation is a manageable project for many homeowners, especially when you take the time to prepare and follow each step carefully. With the right tools, a compatible fixture, and attention to detail, you can improve your sink’s function and appearance in a single afternoon. If you run into complications or want added peace of mind, a professional plumber can make sure the job is done right.