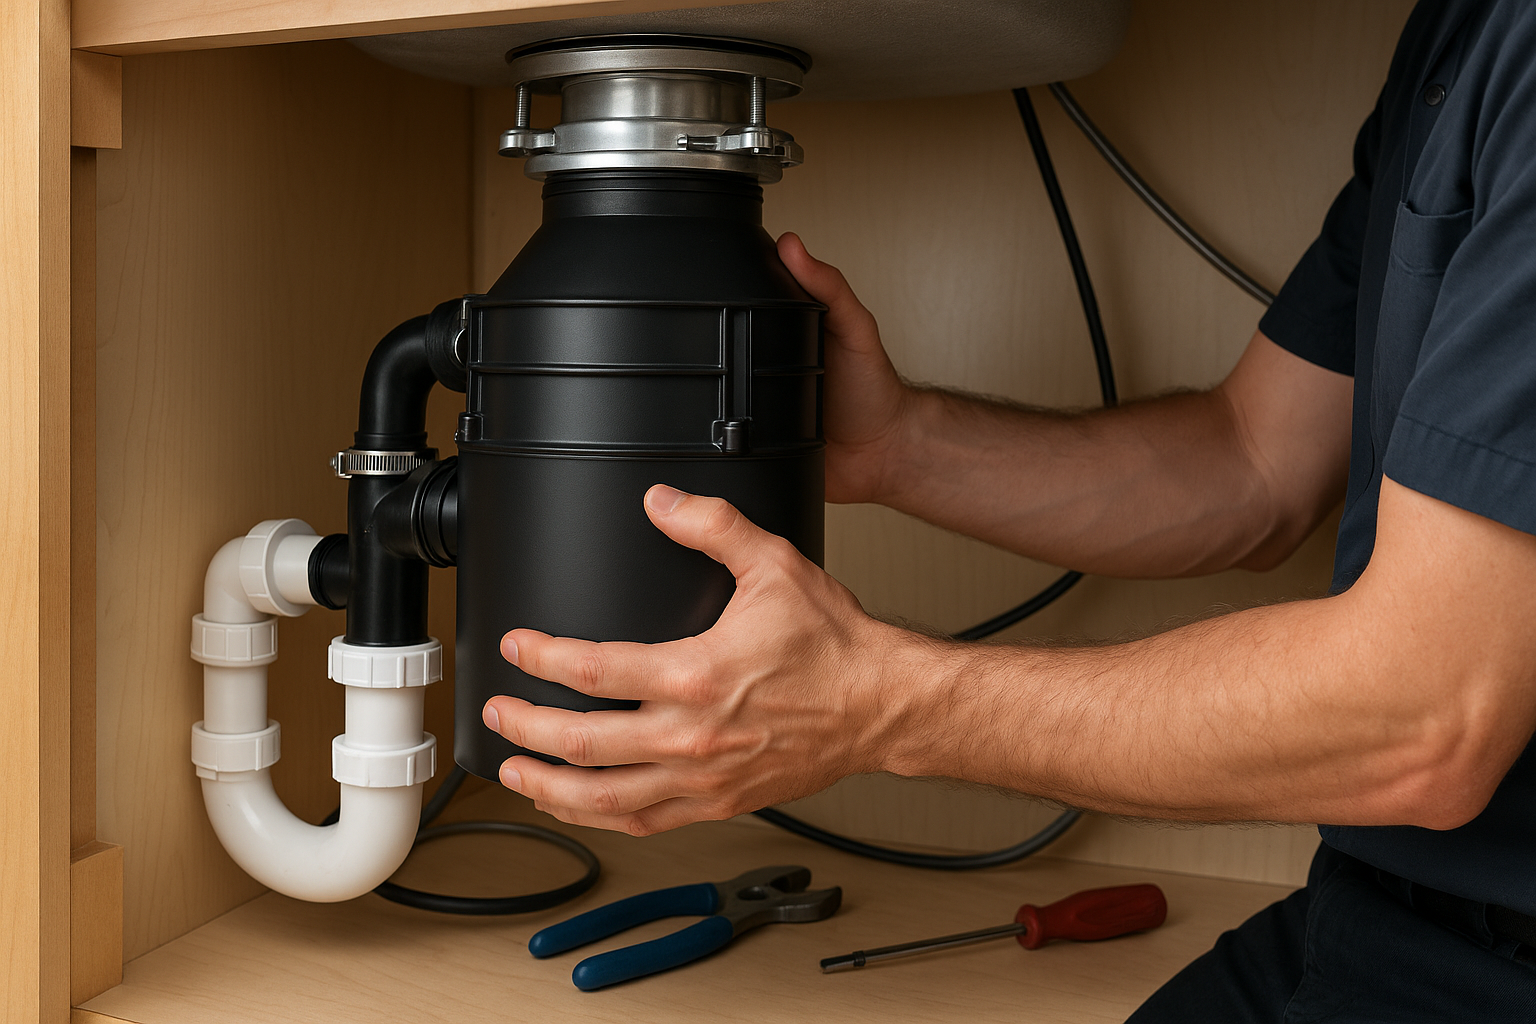
Installing a garbage disposal can make kitchen cleanup faster, reduce food waste in the trash, and help keep your sink area cleaner. Whether you’re replacing an old unit or adding one for the first time, a successful garbage disposal installation starts with choosing the right model, following safety steps, and making sure the plumbing and electrical connections are done correctly.
Why Install a Garbage Disposal?
A garbage disposal is a convenient kitchen appliance that grinds food scraps into fine particles so they can wash away with water. For many households, this means fewer odors in the trash can, less mess after meals, and a more efficient cleanup routine. It can also reduce the amount of organic waste going into your garbage bin.
That said, a garbage disposal is not designed for every type of food waste. Fibrous vegetables, grease, bones, and non-food items can cause clogs or damage. Knowing how the unit works is just as important as installing it properly.
Choosing the Right Garbage Disposal
Before installation, it’s important to select a disposal that matches your kitchen setup and household needs. Not all models are the same, and the right choice can make a big difference in performance and longevity.
Horsepower Options
Garbage disposals typically come in 1/3, 1/2, 3/4, and 1 horsepower models. Smaller households may do well with a 1/3 or 1/2 horsepower unit, while larger families often benefit from a 3/4 or 1 horsepower model. Higher horsepower units usually grind food more efficiently and are less likely to jam.
Continuous Feed vs. Batch Feed
Continuous feed disposals operate while the switch is on, making them convenient for everyday use. Batch feed models only run when a cover is placed over the drain opening, which can offer an added safety feature. Your preference may depend on how you use the sink and who is in the home.
Noise Level and Features
If noise is a concern, look for a model with sound insulation. Some disposals also include features like jam sensors, stainless steel grinding components, and anti-vibration mounting systems. These upgrades can improve performance and reduce maintenance over time.
What You Need Before Installation
Preparing the right tools and materials in advance can make the installation smoother and help avoid interruptions. In many cases, you’ll need a screwdriver, plumber’s putty, a wrench, a bucket, safety gloves, and possibly electrical tools depending on the unit.
You should also check whether your sink has an existing drain opening, whether there is an electrical outlet under the sink, and whether the plumbing layout can accommodate a disposal. If your setup includes a dishwasher, you may need to connect the dishwasher drain line to the disposal as well.
How Garbage Disposal Installation Works
While some homeowners are comfortable handling this project themselves, garbage disposal installation involves both plumbing and electrical work. Careful attention is necessary to avoid leaks, electrical issues, or poor drainage.
1. Turn Off Power and Prepare the Area
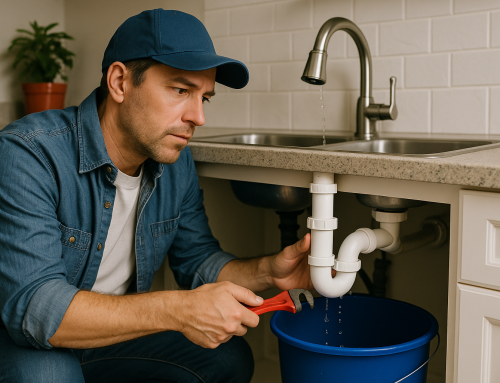
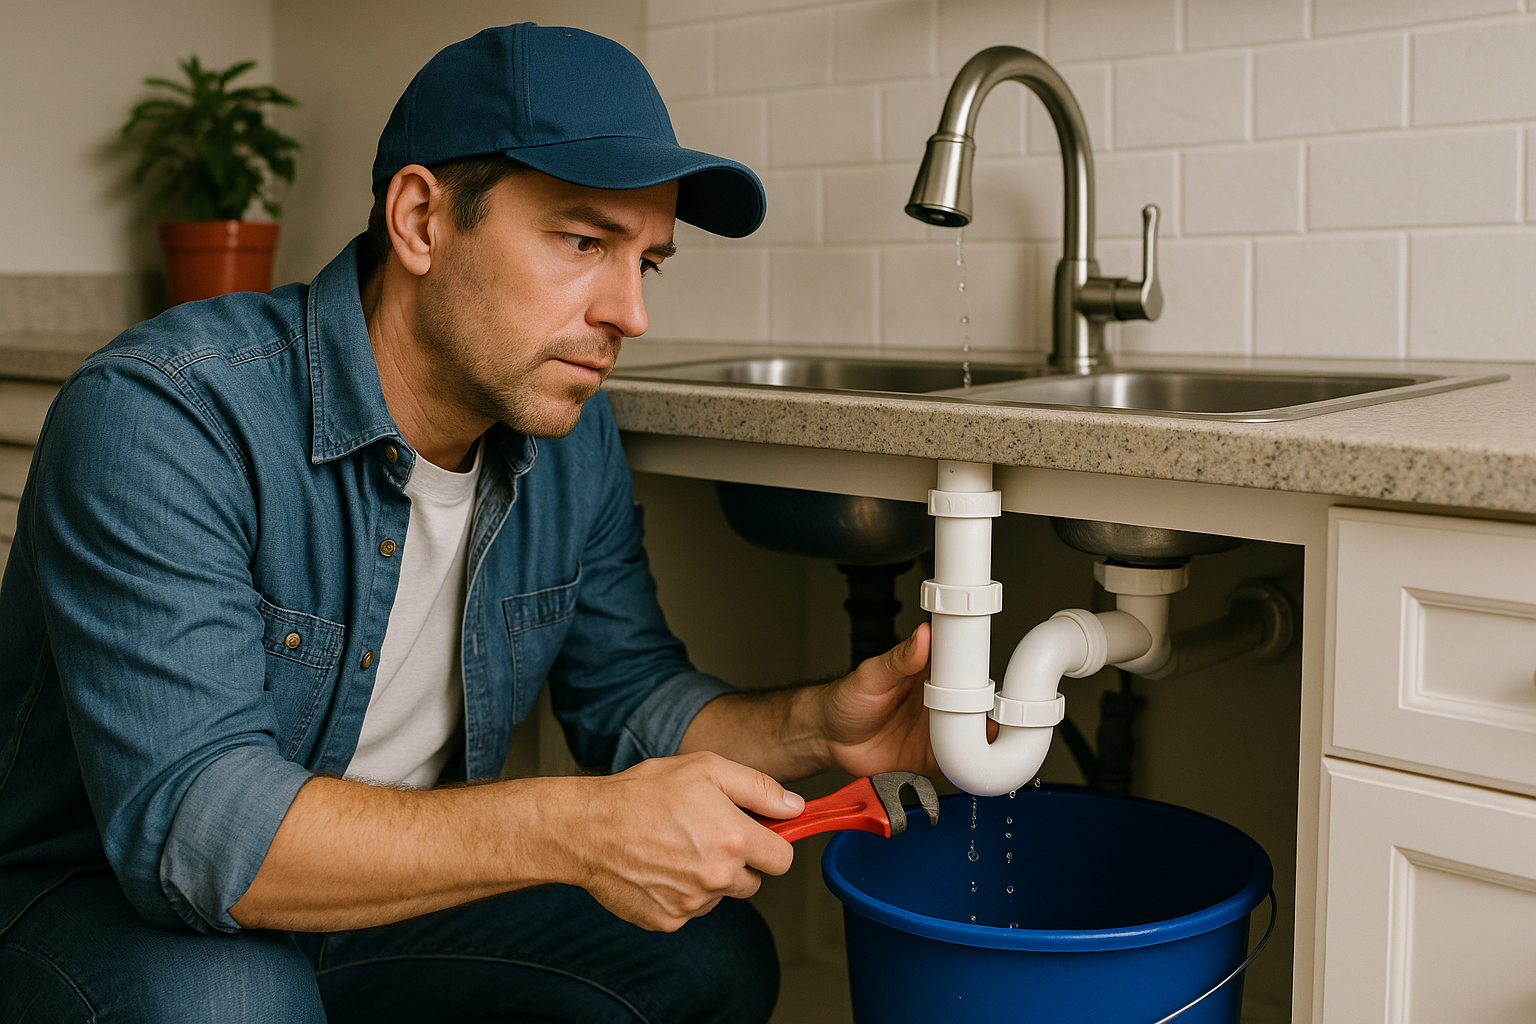
Always turn off power at the breaker before starting. Clear out the cabinet under the sink and place a bucket underneath the drain pipes to catch any water left in the lines. This keeps the workspace safer and cleaner.
2. Remove the Old Unit if Needed
If you’re replacing an existing disposal, disconnect the power supply, remove the drain connections, and loosen the mounting assembly. Older units can be heavy, so support them while removing them from the sink flange. If there is no current disposal, the sink opening may need a mounting kit installed.
3. Install the Mounting Assembly
The mounting assembly secures the disposal to the sink. Plumber’s putty is usually applied around the sink flange to create a watertight seal. Once the flange is in place, the mounting ring and hardware are tightened according to the manufacturer’s instructions.
4. Connect the Disposal to the Mount
After the mounting assembly is ready, the disposal can be lifted into place and locked onto the ring. Because the unit can be bulky, this step is often easier with a second person. Make sure it is fully seated and secure before moving on.
5. Connect the Drain and Dishwasher Line
The discharge pipe from the disposal must be connected to the household drain line. If the unit is connected to a dishwasher, the dishwasher inlet knockout should be removed before attaching the drain hose. All connections should be snug but not overtightened, which can damage fittings or cause leaks.
6. Complete the Electrical Connection
Some disposals plug into an under-sink outlet, while others require hardwiring. Follow the manufacturer’s instructions carefully. If you are not experienced with electrical work, this is one of the best times to call a licensed professional. Safe wiring is essential for both performance and household safety.
7. Test for Leaks and Proper Operation
Once everything is connected, restore power and run cold water through the sink. Check all plumbing connections for leaks and briefly run the disposal to ensure it spins properly. If you hear unusual noises or notice vibration, shut the unit off and inspect the installation.
Common Installation Mistakes to Avoid
Even a good disposal can cause problems if installed incorrectly. One of the most common mistakes is failing to create a proper seal around the sink flange, which can lead to leaks. Another is skipping the breaker shutoff before wiring the unit. Over-tightening drain fittings, forgetting the dishwasher connection plug, or installing the wrong mounting ring can also create issues later.
It’s also important not to use the disposal for items that can damage the grinding chamber. Eggshells, coffee grounds, grease, and stringy foods can all contribute to clogs or wear.
When to Call a Professional
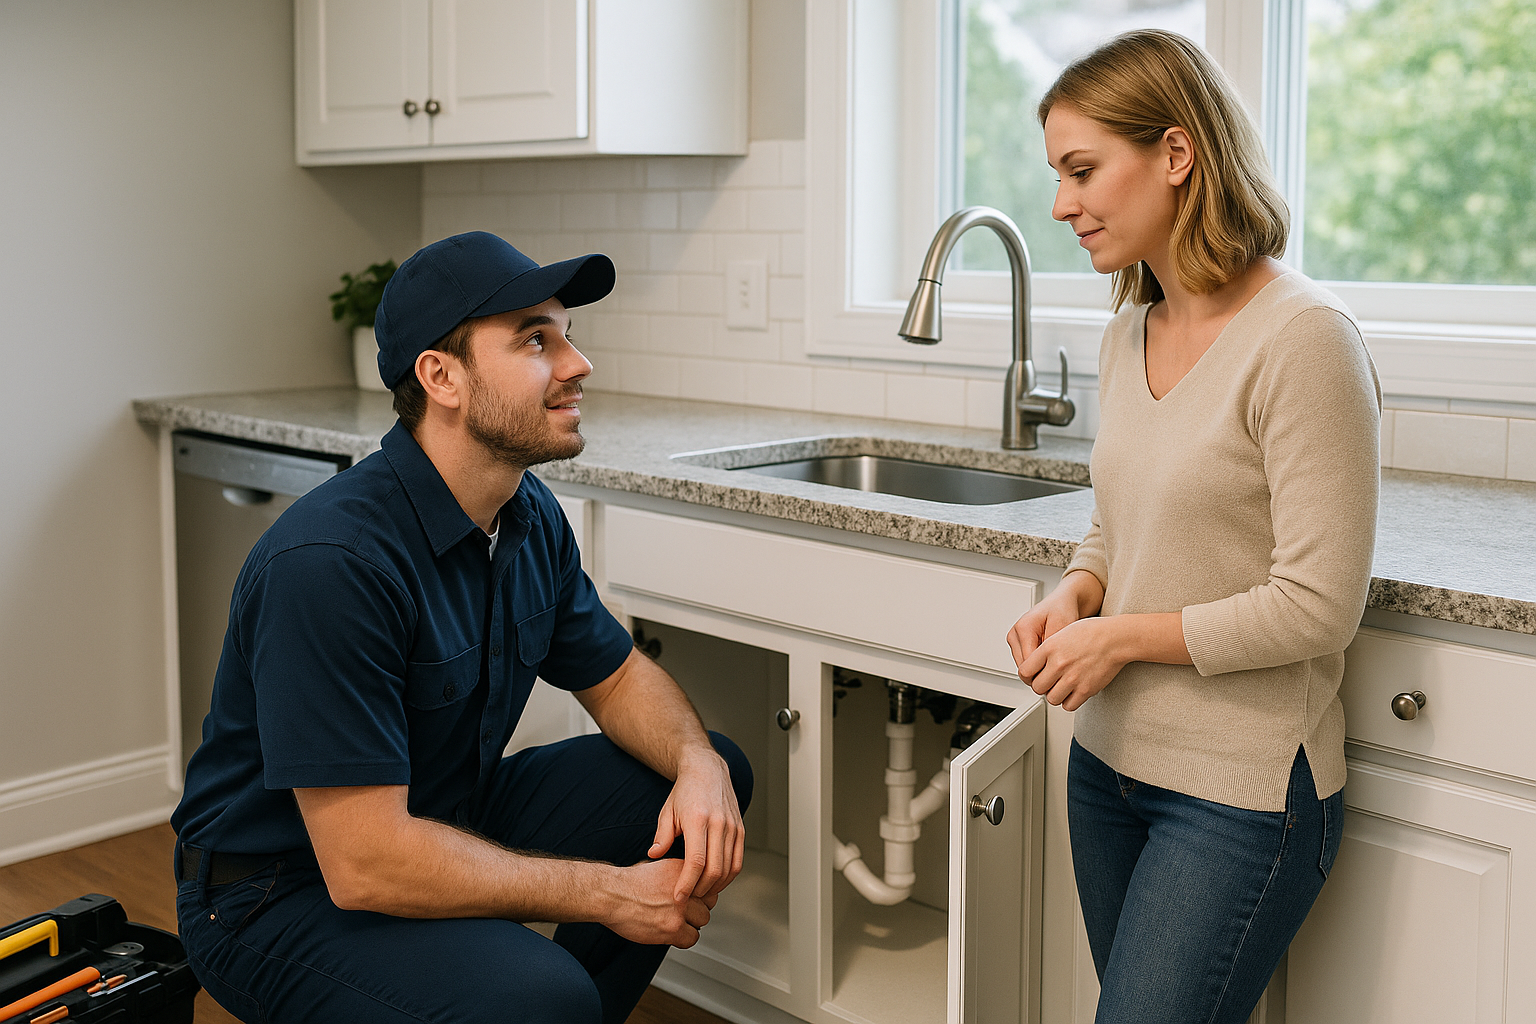
Many homeowners can handle a straightforward replacement, but professional installation is often the best choice if you need new wiring, plumbing adjustments, or help fitting a disposal into a tight under-sink space. A plumber or qualified handyman can also help if your sink, drain, or dishwasher setup is not standard.
Hiring a professional can save time and reduce the risk of leaks, electrical hazards, and installation errors. If you’re unsure about any part of the process, it’s worth getting expert help.
Maintaining Your Garbage Disposal After Installation
After installation, a few simple habits can help your disposal last longer. Always run cold water when using it, avoid grinding hard or fibrous materials, and clean it regularly to prevent odors. Many homeowners freshen the unit with a small amount of ice and citrus peels, though it’s best to follow the manufacturer’s recommendations.
If the disposal starts humming, draining slowly, or tripping the reset button often, it may need maintenance or repair. Addressing small issues early can prevent bigger problems.
Conclusion
Garbage disposal installation can be a valuable upgrade for any kitchen, but it works best when the right unit is selected and installed correctly. By preparing ahead, following safety precautions, and knowing when to call a professional, you can enjoy a cleaner, more convenient kitchen with fewer headaches down the road.