Bathtub Fixture Installation: What to Know Before You Begin
Bathtub fixture installation may seem like a small part of a bathroom project, but it has a big impact on comfort, style, and daily use. The right tub faucet, handles, spout, and shower components can improve water flow, prevent leaks, and give your bathroom a polished look. Whether you’re replacing outdated hardware or installing fixtures as part of a remodel, taking the time to plan the job properly can save money and frustration later.
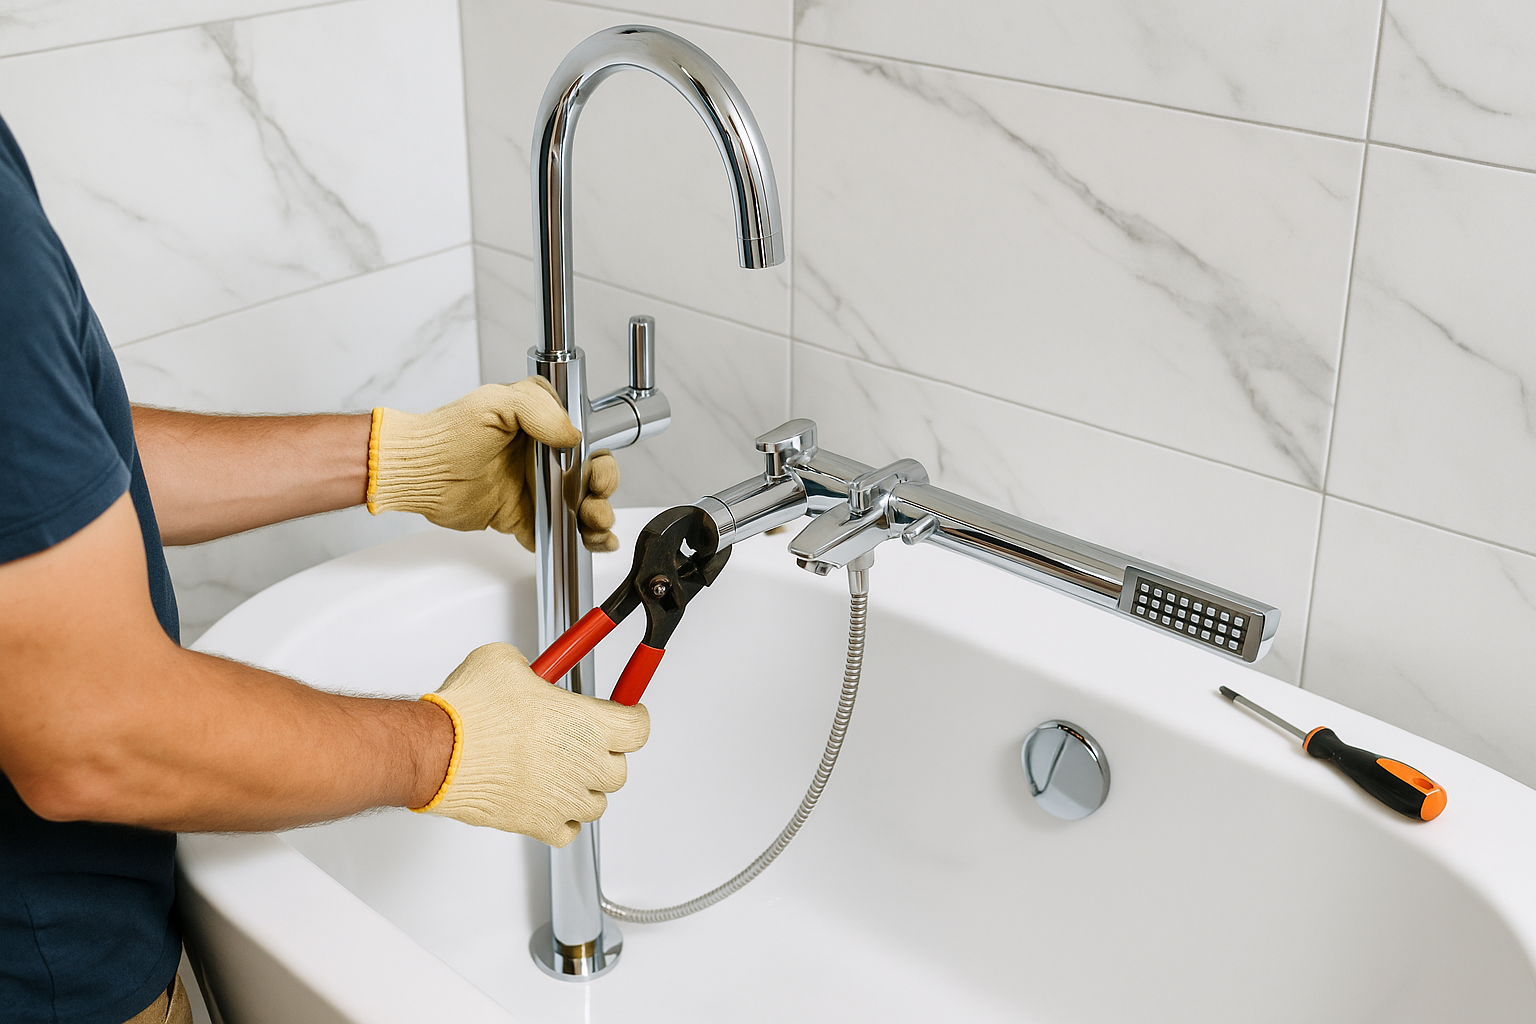
Before starting, it helps to understand the type of bathtub fixture you have and what parts need to be installed. Common options include deck-mounted faucets, wall-mounted faucets, Roman tub fillers, and tub-and-shower combinations. Each setup has different requirements for plumbing access, spacing, and mounting. Knowing what you’re working with will help you choose the right products and installation method.
Choosing the Right Bathtub Fixtures
The first step in any bathtub fixture installation is selecting fixtures that match your bathtub and plumbing layout. Not every faucet or trim kit works with every tub, so compatibility matters.
Consider the Mounting Style
Bathtub fixtures typically come in one of three mounting styles: wall-mounted, deck-mounted, or freestanding. Wall-mounted fixtures are attached to the wall above the tub, while deck-mounted fixtures sit on the tub ledge or surrounding deck. Freestanding tubs often use floor-mounted fillers that provide a clean, modern appearance. Make sure the fixture style fits the structure of your bathroom and the location of your supply lines.
Match the Finish and Design
Fixture finishes should complement your bathroom’s overall look. Popular choices include chrome, brushed nickel, matte black, and polished brass. Beyond appearance, choose a finish that resists water spots and corrosion. The design should also be comfortable to use, especially for handles and diverters that you will operate regularly.
Check Plumbing Compatibility
Not all bathtub fixtures are universal. Some require specific valve bodies, flow rates, or rough-in measurements. Before purchasing, verify the manufacturer’s requirements and confirm that your current plumbing can support the new fixture. If you’re upgrading from an older setup, you may need an adapter, new valve, or even minor plumbing adjustments.
Tools and Preparation
Good preparation makes bathtub fixture installation smoother and safer. Gather your tools before you start so you don’t have to stop mid-project.
Common tools include an adjustable wrench, screwdriver, plumber’s tape, silicone caulk, a utility knife, pliers, and a level. Depending on the fixture, you may also need a drill, hole saw, pipe cutter, or basin wrench. It’s also wise to have towels, a bucket, and a flashlight nearby in case you encounter residual water or tight spaces.
Before removing the old fixture, shut off the water supply to the bathroom or home. Open the faucet to relieve pressure and drain any remaining water from the lines. Lay down a towel or drop cloth to protect the tub surface and keep small parts from falling down the drain.
Step-by-Step Bathtub Fixture Installation
Although the exact process depends on the fixture type, most bathtub fixture installation projects follow a similar sequence.
1. Remove the Old Fixture
Start by removing any decorative covers, handle screws, or trim pieces. Carefully detach the faucet, spout, and handles without damaging the surrounding wall or tub surface. If the fixture is sealed with caulk, use a utility knife to cut the seal before pulling it away. For older fixtures, corrosion may make removal more difficult, so work slowly to avoid breaking plumbing connections.
2. Inspect the Plumbing
Once the old fixture is out, examine the exposed plumbing for signs of rust, leaks, mineral buildup, or damaged threads. This is the best time to repair worn components before installing the new fixture. If the valve or supply lines show major wear, replacing them now can prevent future problems.
3. Install the Valve or Rough-In Components
If your bathtub fixture uses a new valve body or rough-in kit, follow the manufacturer’s instructions carefully. Position the valve at the correct depth and alignment, then secure it in place. Check that the hot and cold supply lines are connected correctly. Use plumber’s tape on threaded connections where recommended to help create a watertight seal.
4. Attach the Spout, Handles, and Trim
After the valve is in place, install the spout, handles, and trim components. Be careful not to overtighten screws or fittings, as this can damage finishes or internal parts. If the fixture includes a diverter, test it to ensure it directs water properly between the tub and shower function.
5. Seal and Finish
Apply a neat bead of silicone caulk around the fixture base where needed to help keep water from seeping behind walls or into gaps. Wipe away excess caulk before it cures. Reinstall any decorative plates or covers, and make sure all visible parts are aligned and secure.
Testing for Leaks and Performance
After installation, turn the water supply back on slowly and check the fixture for leaks. Run both hot and cold water, then test the tub filler, handles, and diverter. Look under the tub, behind access panels, and around all visible connections for drips or moisture. Even a small leak can lead to hidden water damage over time, so it’s important to inspect thoroughly.
You should also evaluate water pressure and flow. The fixture should deliver a steady stream without sputtering or excessive noise. If the flow seems weak, the aerator, valve, or supply line may need adjustment. In some cases, low pressure indicates an issue with the home’s plumbing rather than the fixture itself.
Common Mistakes to Avoid
One of the most common bathtub fixture installation mistakes is choosing a fixture that doesn’t match the existing rough-in or plumbing configuration. Another frequent issue is failing to shut off the water completely before beginning work. Skipping surface protection can also lead to scratches or chips on the bathtub.
Overtightening fittings is another problem that can cause stripped threads, damaged seals, or cracked trim pieces. Finally, don’t ignore small leaks after installation. A quick fix today can prevent costly repairs later.
When to Call a Professional
Some bathtub fixture installation projects are straightforward, especially when you are simply replacing a similar fixture. However, if the job involves moving plumbing lines, replacing a valve behind the wall, or dealing with hidden leaks, it may be best to call a licensed plumber. Professional help is also a smart choice if you’re working with older pipes, limited access, or a high-end fixture that requires precise installation.
Hiring a professional can reduce the risk of costly mistakes and ensure that the fixture is installed safely and correctly. If the bathroom is part of a larger renovation, a plumber can also coordinate the fixture work with other trades for a smoother project.
Conclusion
Bathtub fixture installation is a manageable project when you choose the right products, prepare carefully, and follow the proper steps. With the right approach, you can improve both the function and appearance of your bathroom while avoiding leaks and future headaches. Whether you tackle the work yourself or hire a pro, a well-installed bathtub fixture adds comfort and value to your home.