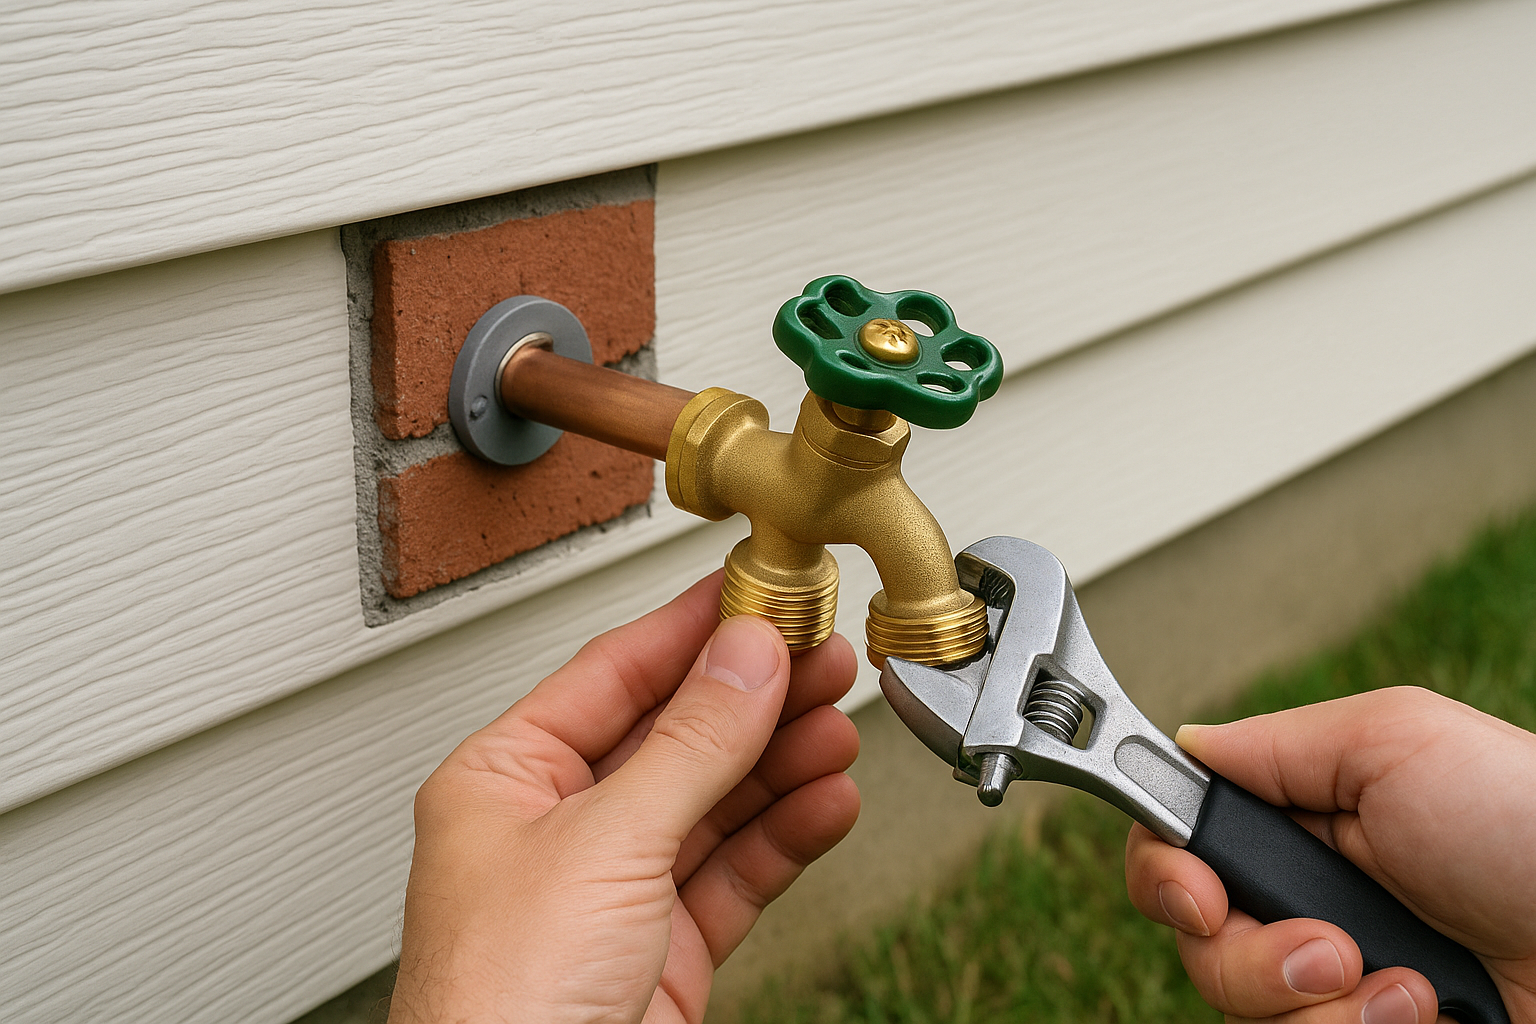
Outdoor Spigot Installation: A Practical Guide for Your Home
An outdoor spigot is one of those small home upgrades that can make a big difference. Whether you’re watering a garden, washing the car, filling a bucket, or connecting a sprinkler, having a reliable exterior water source adds convenience and efficiency. If you’re planning an outdoor spigot installation, it helps to understand the parts involved, the best location, and the steps needed to do the job safely and correctly.
Why Install an Outdoor Spigot?
An outdoor spigot gives you direct access to water outside your home without dragging hoses through windows or relying on indoor faucets. It can improve everyday tasks and support larger projects like landscaping, deck cleaning, and lawn care. A properly installed spigot also reduces wear on indoor plumbing and can help prevent messy, improvised hose setups that waste water or damage fixtures.
Common benefits include:
- Easy access to water for gardening and cleaning
- Better hose management and fewer indoor water hookups
- Improved efficiency for irrigation and outdoor projects
- A cleaner, more permanent exterior water solution
Planning the Installation
Before starting an outdoor spigot installation, take time to plan the placement carefully. The ideal location is typically near an indoor water line, such as a utility room, basement, kitchen, or laundry area. A shorter connection path usually means less labor, fewer materials, and a lower chance of future leaks.
You should also think about convenience and protection. Place the spigot where a hose can reach the areas you use most, but avoid spots where it may be damaged by foot traffic, lawn equipment, or frozen water exposure. In colder climates, a frost-free spigot is often the best choice because it is designed to reduce the risk of freezing and bursting.
Important planning considerations:
- Distance from the nearest water supply line
- Ease of access from the yard or garden
- Protection from freezing temperatures
- Height and clearance for hose connections
- Compliance with local plumbing codes
Tools and Materials You’ll Need
The exact materials depend on your home’s plumbing layout, but most outdoor spigot installations require a few basic tools and fittings. Having everything ready before you begin will make the project smoother and help avoid unnecessary delays.
Typical tools and supplies:
- Outdoor spigot or frost-free hose bib
- Pipe fittings and connectors
- Pipe cutter or saw
- Adjustable wrench
- Drill and bits for mounting
- Plumber’s tape or pipe sealant
- Pipe insulation, if needed
- Silicone caulk or exterior sealant
- Bucket, towels, and safety gear
Step-by-Step Outdoor Spigot Installation
If you are comfortable with basic plumbing work, a straightforward installation may be manageable. However, if the job involves major pipe rerouting, wall penetration, or older plumbing systems, it is wise to consult a licensed plumber. Small mistakes can lead to leaks, water damage, or freezing problems later on.
1. Shut Off the Water Supply
Start by turning off the home’s main water supply. Open a nearby faucet to relieve pressure and drain any remaining water from the line. This step is essential for preventing accidental flooding during the installation.
2. Choose the Connection Point
Identify the indoor pipe that will feed the new spigot. This is often the closest accessible cold-water line. Make sure the connection point is structurally sound and easy to reach before cutting into the pipe.
3. Cut and Prepare the Pipe
Once the water is off and the line is drained, cut the pipe at the chosen location. Clean the ends and prep them according to the type of pipe and fitting you’re using. Proper preparation helps ensure a tight, leak-free connection.
4. Install the Spigot and Attach the Line
Mount the spigot on the exterior wall and connect it to the indoor supply line. For a frost-free model, the valve should slope slightly downward so any remaining water drains away from the house. Use plumber’s tape or sealant on threaded connections and secure all fittings according to the manufacturer’s instructions.
5. Seal the Wall Opening
Any hole made for the pipe should be sealed carefully to keep out moisture, insects, and drafts. Use exterior-grade caulk or sealant around the penetration point, and make sure the finish is neat and weather-resistant.
6. Test for Leaks
Turn the water supply back on slowly and inspect all connections. Run the spigot and watch for drips, leaks, or low pressure. If you notice a problem, shut the water off again and correct the issue before using the fixture regularly.
Safety and Code Considerations
Outdoor spigot installation may seem simple, but plumbing codes and climate conditions matter. Many areas require backflow prevention to protect the household water supply from contamination. In some regions, you may also need a vacuum breaker or other approved anti-siphon device.
Freezing is another major concern. A standard hose bib can trap water and crack in cold weather, so a frost-free model is often the safest option in seasonal climates. Before beginning work, check your local code requirements and, if necessary, pull any permits required by your municipality.
Maintenance Tips for Long-Term Performance
Once your outdoor spigot is installed, regular maintenance will help it last longer and perform better. Disconnect hoses before winter, inspect for leaks during the season, and check caulking around the wall penetration once or twice a year. If you live in a freezing climate, shut off the interior supply valve and drain the line before temperatures drop.
Helpful maintenance habits:
- Remove hoses before freezing weather arrives
- Check for drips at the handle and hose connection
- Inspect sealant and exterior trim annually
- Replace worn washers or damaged parts promptly
When to Call a Professional
While some homeowners can handle a basic installation, certain situations call for professional help. If your plumbing is outdated, the pipe route is complicated, or you suspect hidden water damage, a licensed plumber can save time and prevent costly repairs. Professional installation is also a smart choice if you want peace of mind that the spigot meets code and is properly protected against freezing and backflow.
Conclusion
Outdoor spigot installation is a valuable upgrade that can make outdoor chores easier and your home more functional. With careful planning, the right materials, and attention to safety, you can create a dependable water source that serves your yard for years. Whether you tackle the project yourself or hire a pro, a well-installed spigot is a practical investment in your home’s convenience and value.