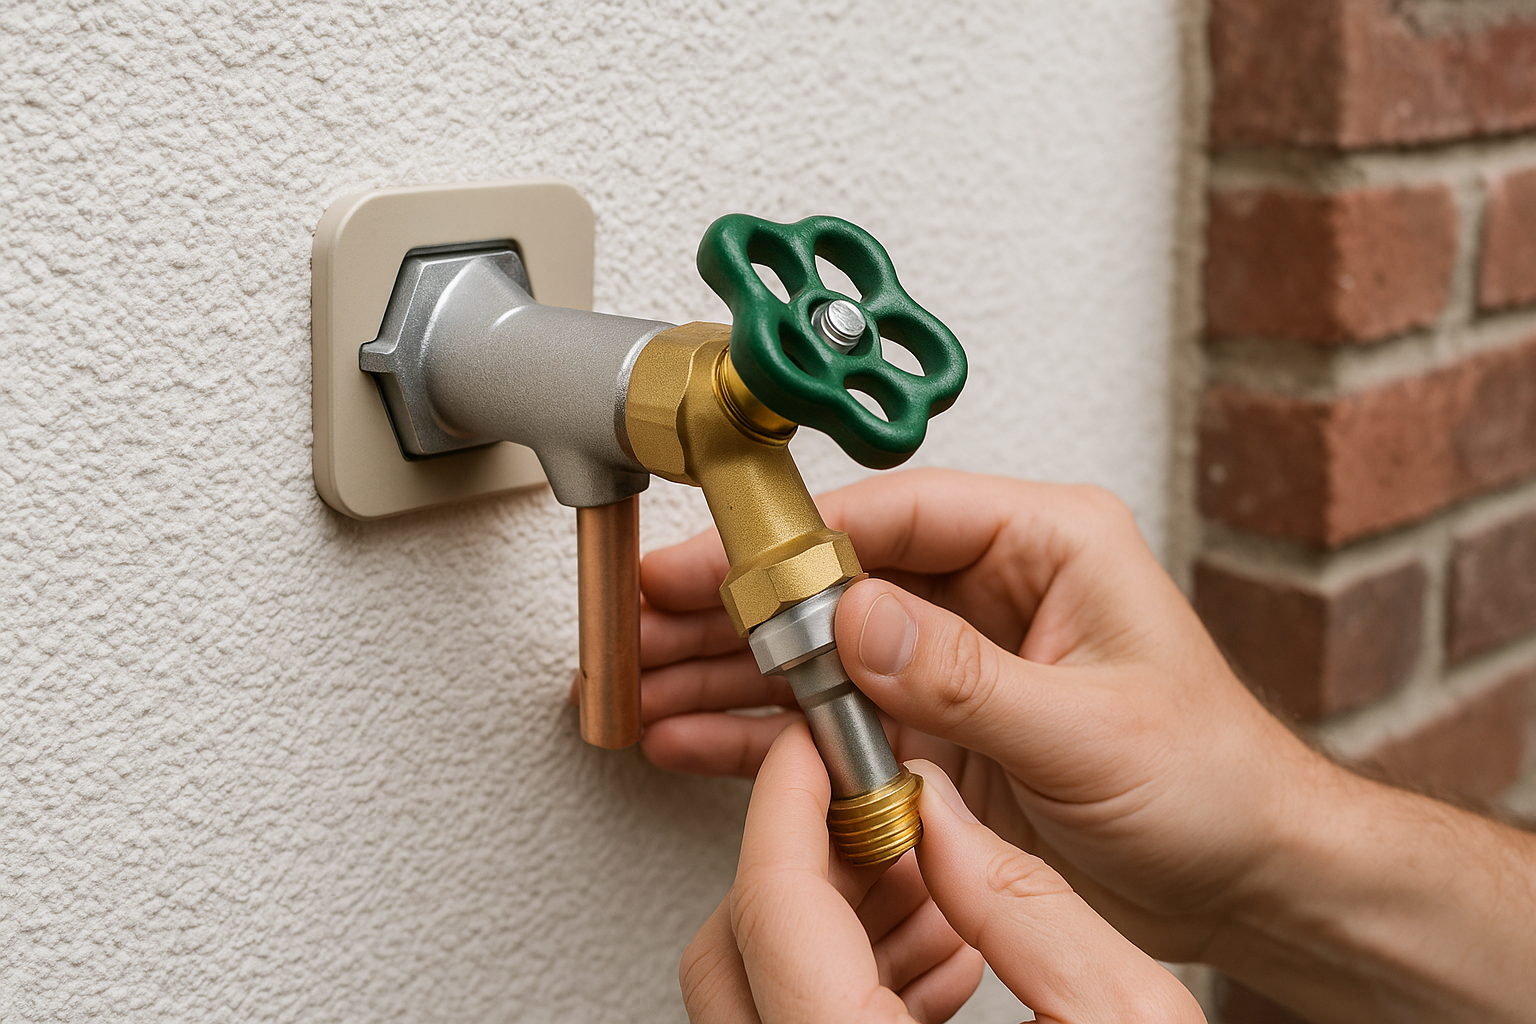
Why Freeze Resistant Spigot Installation Matters
A freeze resistant spigot is one of the smartest upgrades you can make for your home, especially if you live in an area with cold winters. Unlike a standard outdoor faucet, a frost-free or freeze resistant spigot is designed to keep water farther back inside the heated portion of the home, helping prevent frozen pipes, leaks, and costly damage. When installed correctly, it can also reduce the risk of burst plumbing and make winter maintenance much easier.
If you’ve ever dealt with a cracked hose bib or a surprise indoor leak after a hard freeze, you already know how important this project can be. The good news is that freeze resistant spigot installation is straightforward for many homes, and with the right planning, it can provide years of dependable performance.
What Makes a Spigot Freeze Resistant?
A freeze resistant spigot, often called a frost-free hose bib, is built with a long valve stem that extends into the warmer interior wall cavity. When you turn off the water, the shutoff point is deeper inside the home, where temperatures are less likely to drop below freezing. The outdoor portion of the spigot should still drain properly, but that drainage only works if the spigot is installed with a slight downward slope and used correctly.
It’s important to remember that the spigot itself is only one part of the solution. Outdoor hoses, fittings, and shutoff valves all play a role in keeping your plumbing safe during winter.
Choosing the Right Freeze Resistant Spigot
Match the Length to the Wall Thickness
Before installation, measure the thickness of the wall where the spigot will be mounted. Freeze resistant spigots come in different lengths, and the valve seat must sit inside the heated space for the fixture to work as intended. If the stem is too short, the water may still freeze near the exterior wall.
Select Durable Materials
Brass is a popular choice for outdoor plumbing fixtures because it is durable and resists corrosion. Look for a model rated for freeze protection, and consider one with a vacuum breaker or anti-siphon feature if local plumbing codes require it. These details help protect both the fixture and your home’s water supply.
Check Local Codes
Plumbing codes can vary by location. Some municipalities require specific backflow protection, mounting methods, or pipe materials. Before starting the job, review local requirements or speak with a licensed plumber to make sure your installation is up to code.
Tools and Materials You’ll Need
Gather everything before you begin so the installation goes smoothly. Common tools and materials include a freeze resistant spigot, pipe fittings, plumber’s tape, pipe cutter, drill, screws, caulk or exterior sealant, a level, wrench, and pipe insulation if needed. Depending on your existing plumbing, you may also need copper, PEX, or threaded adapters.
If replacing an old outdoor faucet, it’s wise to inspect the surrounding wall for water damage before installing the new unit. Repairing hidden rot or damaged insulation now can prevent bigger problems later.
Step-by-Step Freeze Resistant Spigot Installation
1. Shut Off the Water Supply
Turn off the water to the line you’ll be working on. Open the existing outdoor faucet to drain any remaining water from the pipe. This reduces the chance of spills and helps you work more safely.
2. Remove the Old Spigot
If you’re replacing an existing faucet, disconnect it carefully. Depending on the setup, you may need to unscrew it, cut the pipe, or remove mounting hardware. Take your time to avoid damaging the pipe stub or surrounding wall.
3. Prepare the Opening
Make sure the hole through the wall allows the new spigot to slide through cleanly. The fixture should sit snugly against the exterior surface, with enough clearance for proper drainage and mounting. If needed, widen the opening slightly, but avoid making it larger than necessary.
4. Install the New Spigot
Insert the freeze resistant spigot into the wall opening and connect it to the supply line according to the manufacturer’s instructions. Use plumber’s tape on threaded connections if required, and tighten fittings securely without overtightening. The spigot should slope slightly downward toward the outside so trapped water can drain.
5. Secure and Seal the Fixture
Once aligned, fasten the spigot to the exterior wall with screws. Then apply exterior-grade caulk around the mounting flange to keep out air and moisture. A tight seal helps protect the wall cavity from drafts, pests, and water intrusion.
6. Test for Leaks
Turn the water back on and inspect the connections carefully. Open and close the spigot to confirm proper flow and drainage. Check both indoors and outdoors for drips or seepage. If you notice a leak, shut off the water and correct the connection before the first freeze hits.
Common Installation Mistakes to Avoid
One of the most common mistakes is installing the spigot with no slope, which prevents proper drainage. Another is choosing a unit that is too short for the wall thickness, leaving the valve exposed to freezing temperatures. Homeowners also sometimes leave hoses attached during winter, which can trap water in the spigot and defeat its freeze-resistant design.
It’s also easy to overlook insulation. Even a properly installed spigot benefits from insulated walls and a tight seal around the fixture. If the wall cavity is drafty or poorly insulated, cold air can still reach the valve area.
Winter Maintenance Tips
After installation, remove garden hoses before freezing weather arrives. Drain the spigot by shutting it off and allowing any remaining water to escape. If your model has an indoor shutoff valve, close it for the season and leave the outdoor faucet open briefly to ensure the line is empty.
Before each winter, inspect the fixture for cracks, loosened caulk, or signs of corrosion. A quick seasonal check can extend the life of your spigot and help you avoid emergency repairs in the middle of a cold snap.
When to Call a Professional
DIY installation works well for many straightforward replacements, but some situations call for professional help. If the plumbing runs through finished walls, if you need to reroute pipes, or if you’re unsure about local code requirements, hiring a licensed plumber is a smart choice. Professionals can also handle older homes where pipe materials or wall conditions make installation more complex.
Conclusion
Freeze resistant spigot installation is a practical upgrade that can save you from winter plumbing problems and expensive repairs. By choosing the right fixture, installing it with the proper slope, and maintaining it each season, you can keep your outdoor water supply reliable and protected year after year.